Helm: The Kubernetes Package Manager
Table of Contents
This article examines how Helm integrates with MongoDB. Earthly provides consistent and reproducible builds for Helm users. Learn more about Earthly.
For production and hybrid cloud environments, manual deployments with Kubernetes are time consuming and non reusable. As you deploy different applications with similar configuration settings to Kubernetes, you’ll have a large number of YAML files and substantial duplication; this makes the applications difficult to maintain. This is where Helm can help.
With Helm, you can deploy complex applications quickly as Helm charts, resulting in increased productivity, scalability, and reusability.
In this tutorial, you’ll learn what Helm is, what Helm charts are, and how to deploy a MongoDB database up on Kubernetes with Helm.
What Is Helm?
Helm is a package manager for Kubernetes. It was created in 2015 by DeisLabs as an open-source project and was donated to the Cloud Native Computing Foundation (CNCF) in June 2018 as a work in progress. Since April 2020 Helm has been used as the official package manager for Kubernetes.
With Helm, you can package different collections of Kubernetes YAML files and distribute them on public or private repositories as Helm Charts.
What Are Helm Charts?
Helm charts are bundles or collections of Kubernetes YAML files that make up an application. For complex deployments involving database applications, such as MongoDB and MySQL, and monitoring applications like Prometheus, you can use the charts available in existing Helm repositories—without having to configure them yourself.
You can deploy complex applications with manifest files; but it can be difficult to maintain. The reusability of manifest files depends on the environment you choose to run them in.
With Helm, you can deploy different configurations for the same application using a single Helm chart. Helm uses a template engine to achieve this. The template engine creates manifest files according to some input parameters which can be overwritten in a vaues.yamlfile.
Helm charts are file based and follow a convention-based directory structure so they can be stored in chart repositories. Every chart comes with its own version number and other dependencies required to run an application.
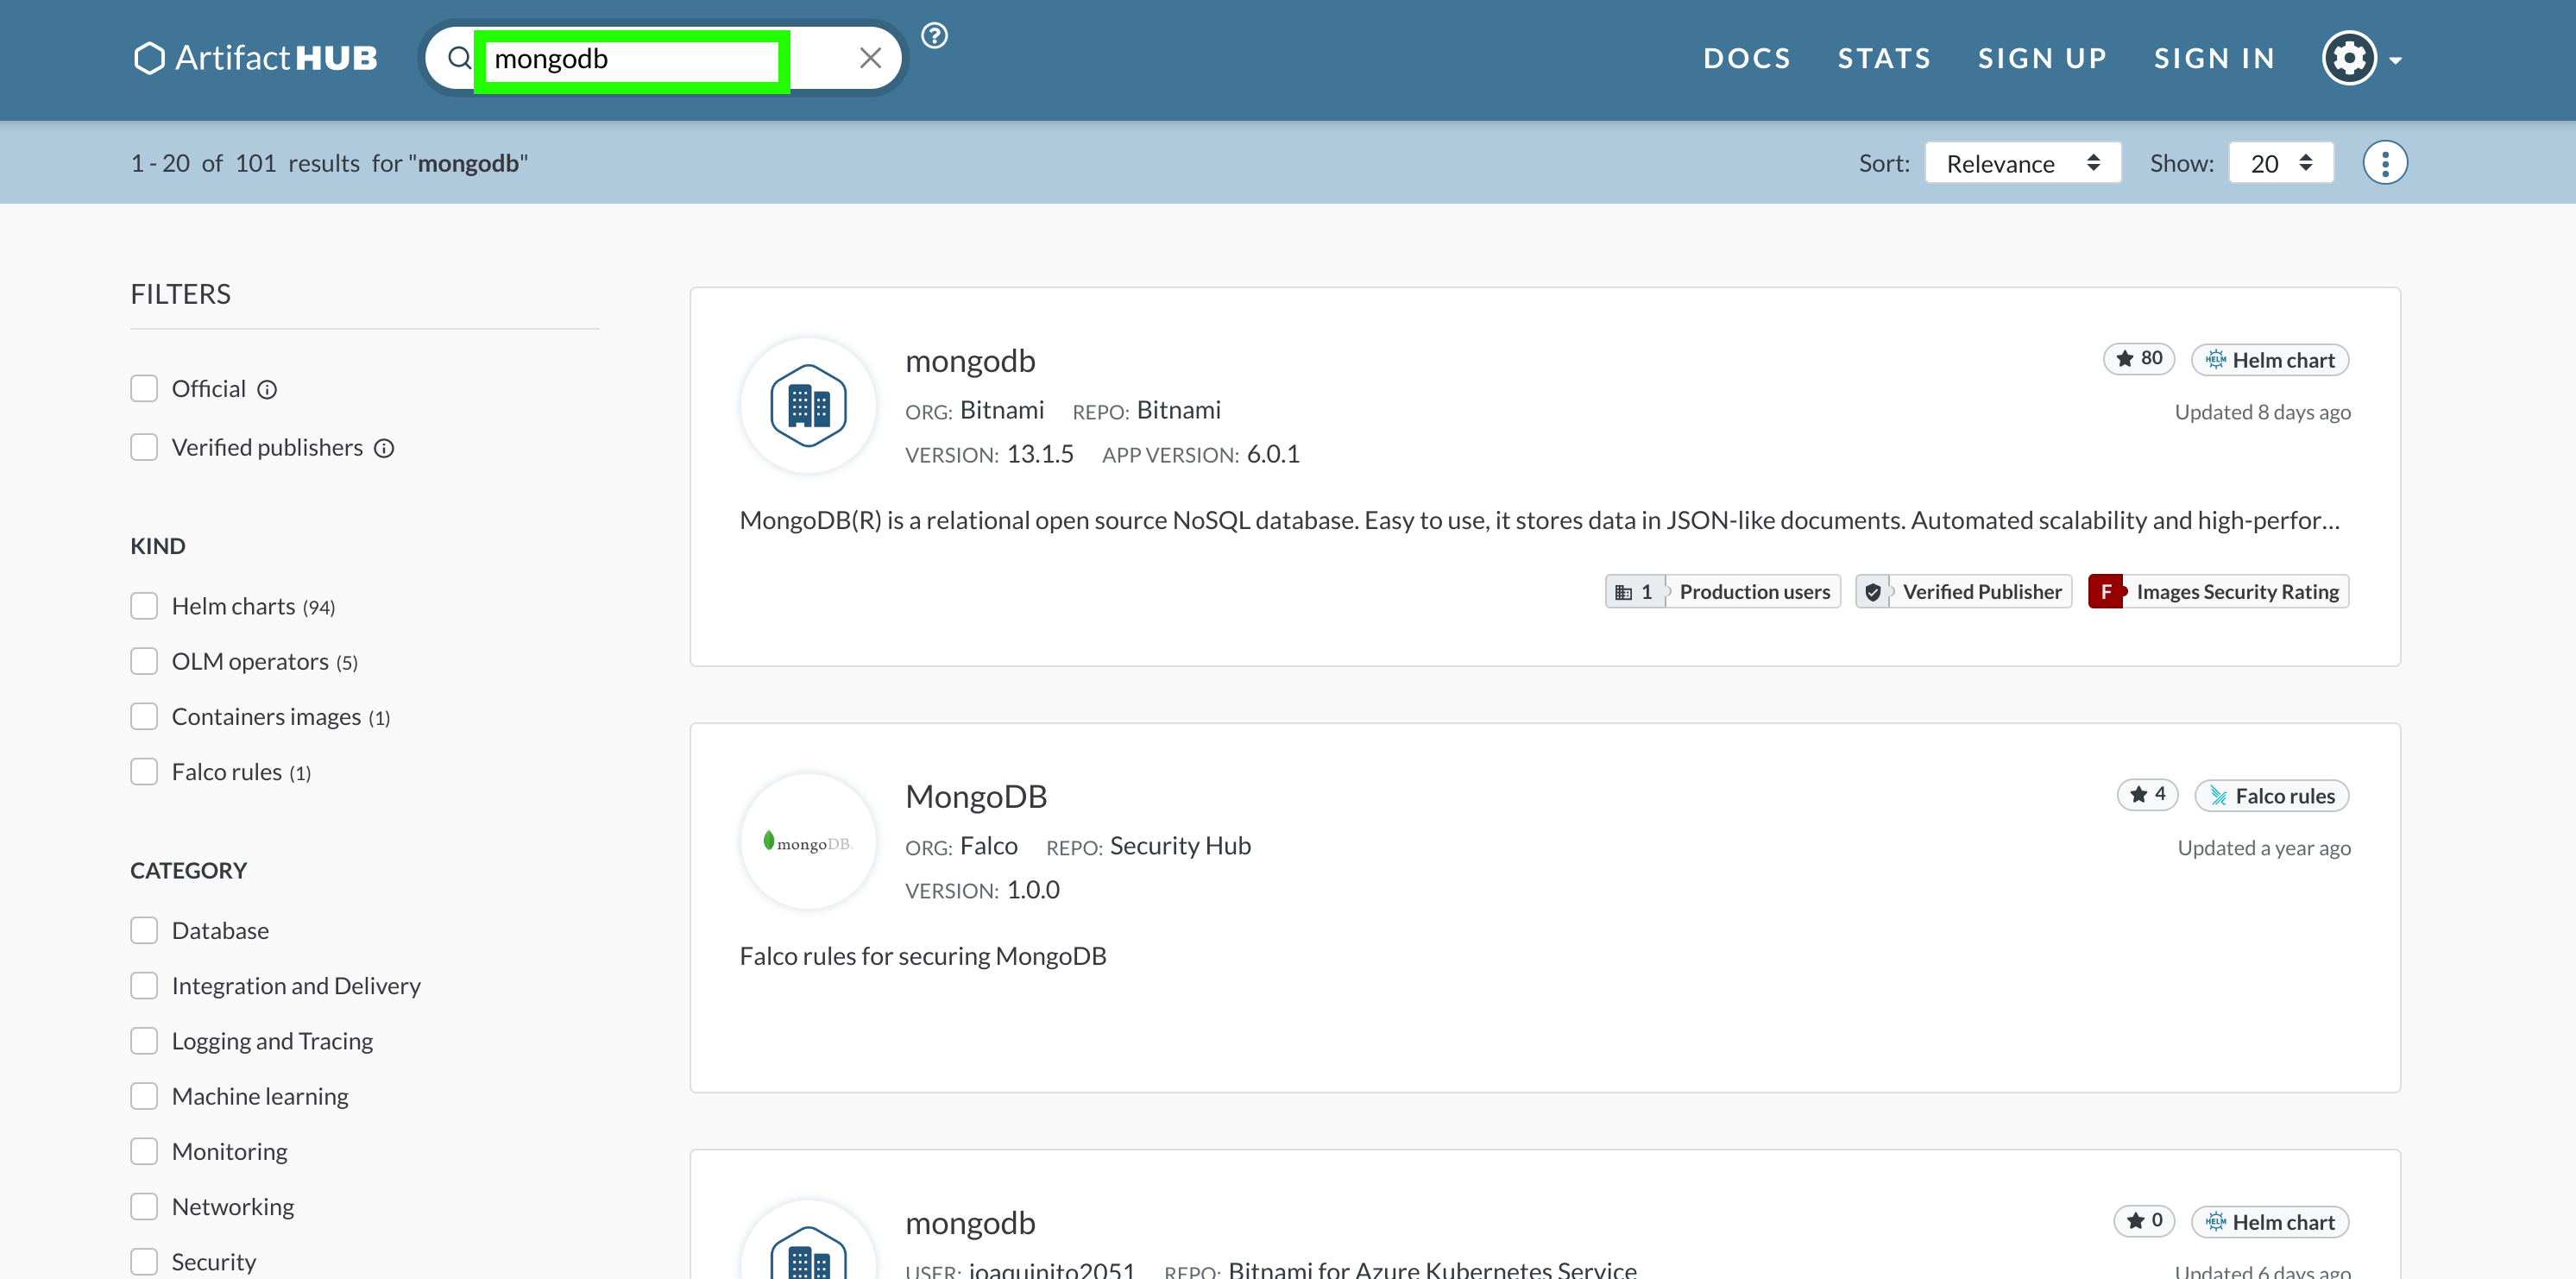
Creating and sharing application configuration as charts makes Helm popular amongst developers. You can search for Helm charts on Helm Search Hub or via the command line using the helm search <keyword> command. The Artifact Hub is the main repository to look for a specific helm chart. All you have to do is search for the chart you’ll need and the search results for that chart pops up as shown below:

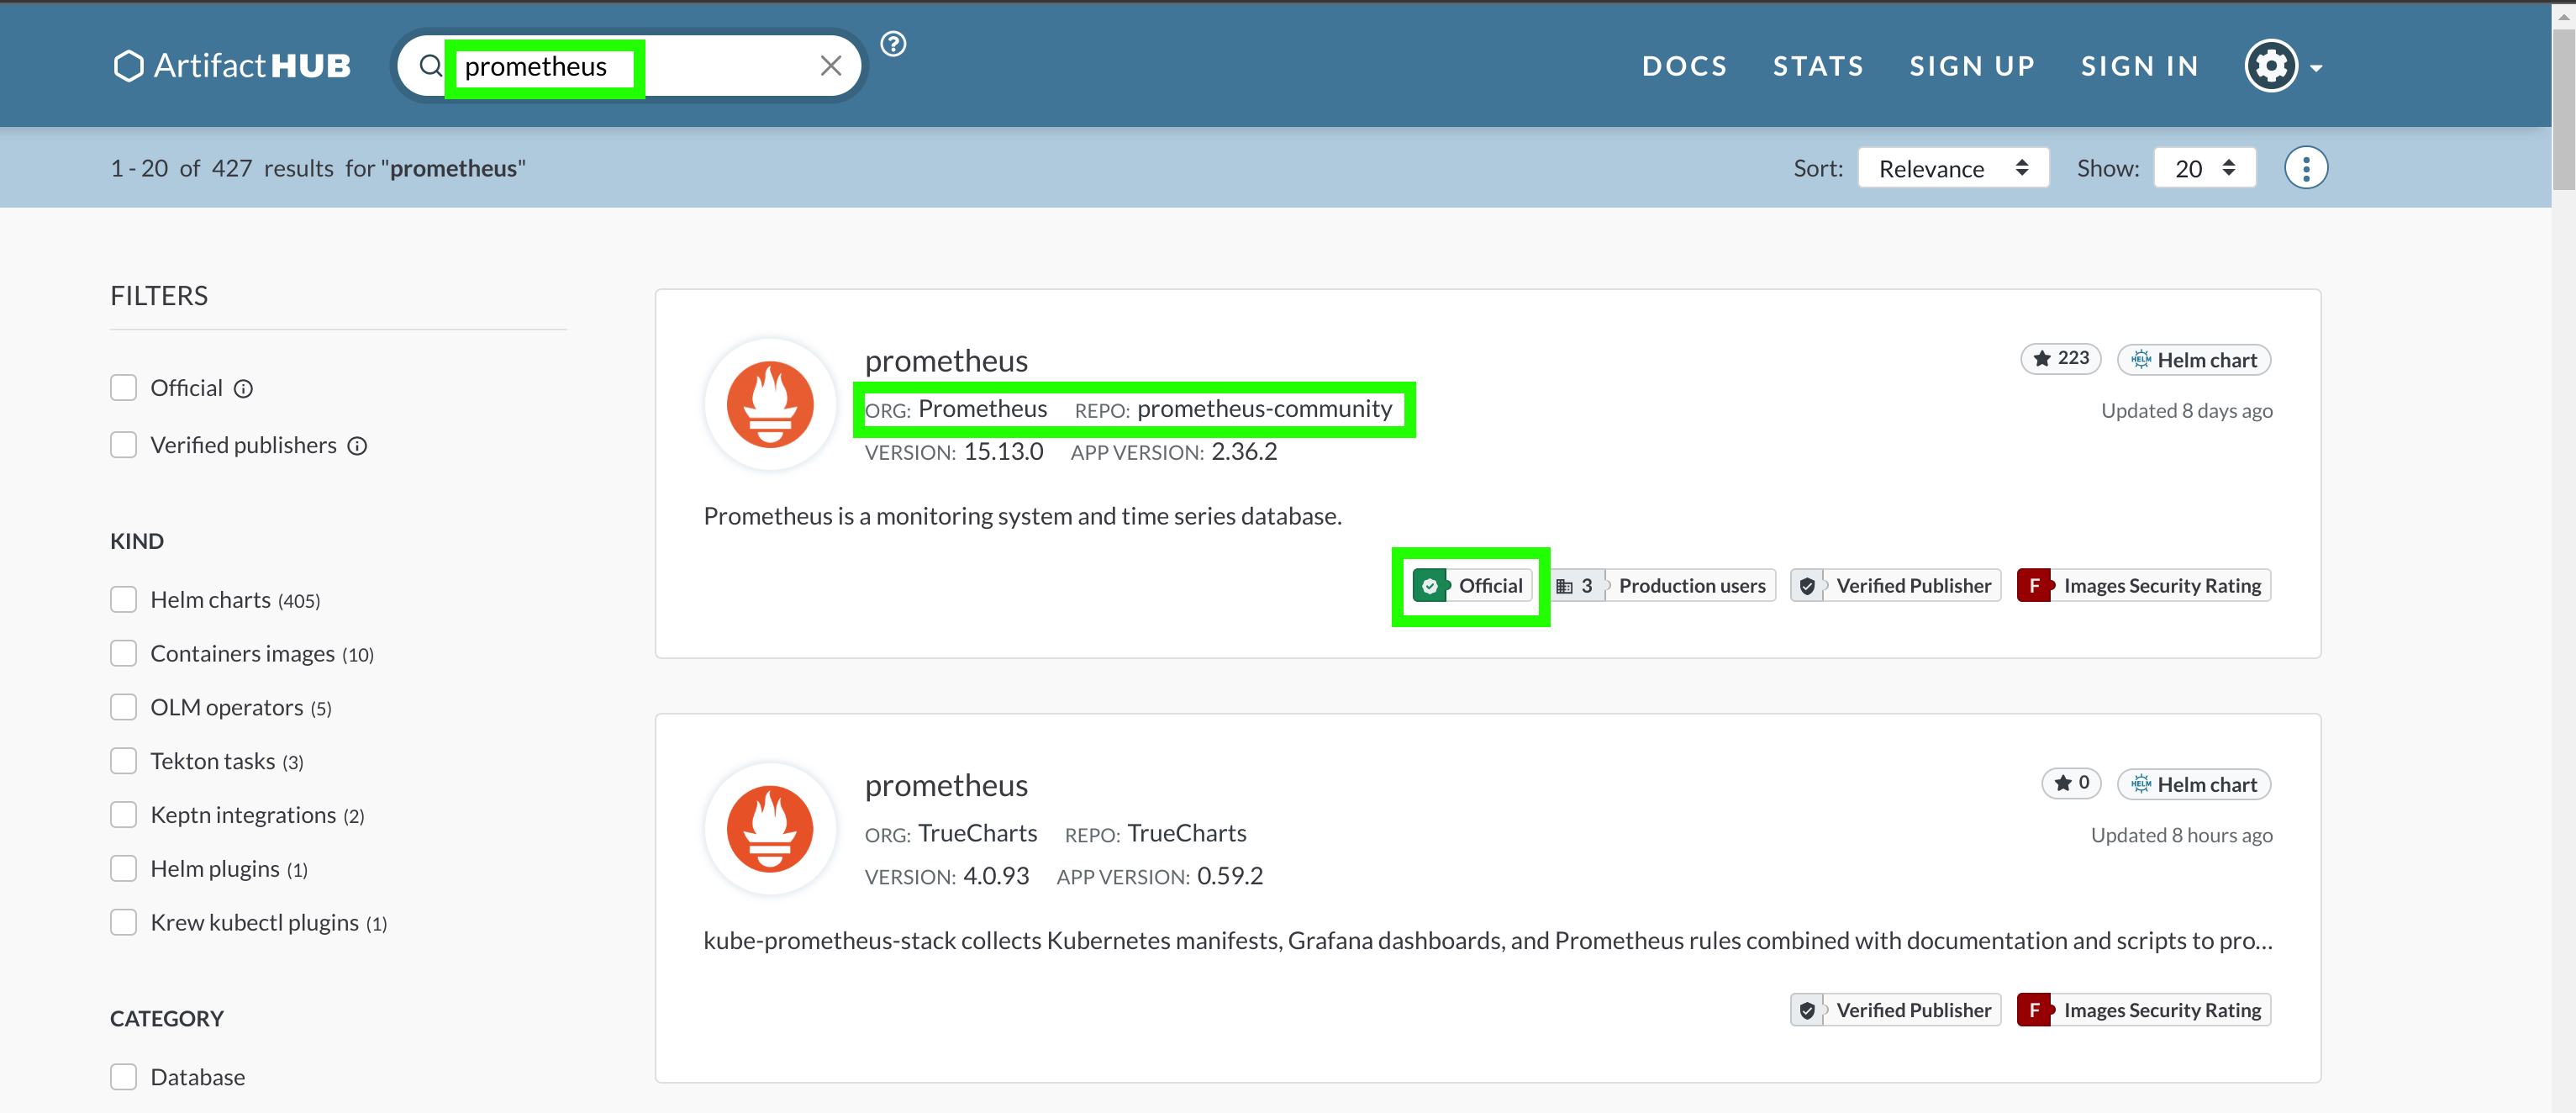
You can find Helm charts on GitHub, GitLab, Bitbucket, and other related platforms. You can also get Helm charts from verified publishers like Bitnami. Here’s the Prometheus Helm chart made by Prometheus.

Now that you know what a Helm chart is, it’s time to dive into its practical use case.
Prerequisites
To follow along, you’ll need to have the following;
- A Kubernetes cluster already up and running
- A Linux machine: This tutorial uses an Ubuntu distribution 20.0.3LTS (You can follow along on any Linux distro. )
- Helm locally installed - You can see the following guide
- A valid domain name: This tutorial uses the domain name 104-200-26-90.ip.linodeusercontent.com
You can find all the configuration settings used in this tutorial in this GitHub repository.
Deploying Applications With Kubernetes
When deploying applications to Kubernetes, you’ll need to create Pod and Service objects, and any other Kubernetes objects that you’ll need to deploy your application (all configured in YAML files). To understand how this works, let’s deploy a MongoDB database.
Deploying a MongoDB Database Without a Helm Chart
Create a file called mongodb-deployment.yaml, open it up with your favourite code editor, and follow along with the steps outlined in this section.
In the mongodb-deployment.yaml file add the configuration settings below to create a persistent volume called mongodb-pv and a persistent volume claim called mongodb-claim to use some amount of storage from the persistent volume to persist data for the MongoDB database.
apiVersion: v1
kind: PersistentVolume
metadata:
   name: mongodb-pv # Name of the persistent volume
   labels:
     type: local
spec:
   storageClassName: hostpath # Name of the storage class for \
   local Kubernetes clusters
   capacity:
     storage: 3Gi # Amount of storage this volume should hold
   accessModes:
     - ReadWriteOnce # To be read and written only once
   hostPath: # Storage class type
     path: '/mnt/data' # File path to mount volume

---
apiVersion: v1
kind: PersistentVolumeClaim
metadata:
  name: mongodb-claim # Name of the persistent volume claim
spec:
  storageClassName: hostpath # Name of the storage class
  accessModes:
    - ReadWriteOnce # Indicates this claim can only be read and written once
  resources:
    requests:
      storage: 500Mi # Indicates this claim requests only 500Mi of \
      storage from a PV
Also, add the configuration setting below to create an internal service called(mongodb) with a port 27017 and a target port 27017. And a MongoDB secret called (mongodb-secret) that will hold the MongoDB username and password—only available within the Kubernetes cluster.
---
apiVersion: v1
kind: Service
metadata:
   name: mongodb #service name
   labels:
     app: mongodb
spec:
   selector:
     app: mongodb
   ports:
     - protocol: TCP
       name: http
       port: 27017 #container service port
       targetPort: 27017 #container target port

---
apiVersion: v1
kind: Secret
metadata:
    name: mongodb-secret #name of secret
type: Opaque #key-value pairs secret type
data:
   mongodb-root-username: bW9uZ29kYi11c2VybmFtZQ== #base64 encoded value
mongodb-root-password: bW9uZ29kYi1wYXNzd29yZA== #base64 encoded valueFinally, add the configuration setting below to create a StatefulSet called (mongodb) with one replica using a service (mongodb). This StatefulSet will also pull the official MongoDB database from DockerHub and use the persistent volume claim (mongodb-claim) to persist data.
---
apiVersion: apps/v1
kind: StatefulSet
metadata:
  name: mongodb # The name of the StatefulSet
spec:
  serviceName: mongodb
  selector:
    matchLabels:
      app: mongodb
  replicas: 1 # Indicates this StatefulSet should only \
  create one instance of the MongoDB database
  template:
    metadata:
      labels:
        app: mongodb
    spec:
      containers:
      - name: mongodb # The name of the MongoDB container
        image: mongo # The official image of the MongoDB database
        imagePullPolicy: "IfNotPresent"
        ports:
        - containerPort: 27017 # The port number MongoDB listens on
        env:
        - name: MONGO_INITDB_ROOT_USERNAME # mongodb username
          valueFrom:
            secretKeyRef:
              name: mongodb-secret
              key: mongodb-root-username #the key that holds the\
              mongodb username
        - name: MONGO_INITDB_ROOT_PASSWORD # mongodb-password
          valueFrom:
            secretKeyRef:
              name: mongodb-secret
              key: mongodb-root-password #the key that holds the \
              mongodb password
        volumeMounts:
          - name: data
            mountPath: /var/lib/mongodb/data # Data should be \
            mounted onto this file path
      volumes:
      - name: data
        persistentVolumeClaim:
          claimName: mongodb-claim # Indicates the mongodb database \
          should use a PVC mongodb-claim
Deploy the MongoDB database using the kubectl command below:
kubectl apply -f mongodb-deployment.yamlIf created successfully, you should have an output similar to the one below:

Check if all the resources for your MongoDB database are up and running by executing the kubectl commands below:
kubectl get all #gets some cluster resources
kubectl get pv  #gets persistent volume
kubectl get pvc #gets persistent volume claim
kubectl get secret #gets secret
If your output looks similar to the one shown below, you’ve successfully deployed a MongoDB database on Kubernetes.

Deploying Applications With Helm
You’ve deployed a MongoDB database on Kubernetes using the conventional method. This section will focus on how you can do it using Helm.
Deploying the MongoDB database using the steps outlined in the previous section can be time-consuming. In addition, to reuse these configuration settings to deploy another application, say, a microservice, you’ll need to copy and paste these files which is not recommended. Using Helm can make this deployment process more efficient.
To see Helm in action, you’ll deploy a replicated MongoDB database using Helm on a cloud Kubernetes cluster. This tutorial uses the Linode Kubernetes Engine (LKE). Deploy a UI client (Mongo-express) so you can access the MongoDB database from the browser. Configure an Nginx Ingress controller with Helm to handle browser requests in your Kubernetes cluster.
Deploying a MongoDB Database Using Helm
Create a namespace in your Kubernetes cluster; this tutorial uses a namespace called mongodb-helm.This namespace will house your MongoDB database.
kubectl create namespace mongodb-helm
As of writing this tutorial, the maintained MongoDB chart is managed by Bitnami. Add the Helm repository that contains the MongoDB helm chart:
helm repo add bitnami https://charts.bitnami.com/bitnami
Next, search for the MongoDB chart from the Bitnami repository:
helm search repo bitnami/mongo
Create a file called values.yaml and add the following configuration settings.
The code below will deploy the MongoDB chart as a replicaSet with three pods(replicaCount). It will use a standard storageClass and a root password secret-root-password.
architecture: replicaset
replicaCount: 3
persistence:
  storageClass: "linode-block-storage" #your cloud Kubernetes \
  cluster provisioner storage class goes here
auth:
  rootPassword: secret-root-pwsd
Running the following command will install the MongoDB chart using the values overwritten in the values.yaml file:
helm install -n [the-kubernetes-namespace] \
[the-name-you-want-to-give-the-chart] -values \
[the-name-of-the-values-file] [chart name]
helm install -n mongodb-helm mongodb --values \
values.yaml bitnami/mongodbYour chart is being deployed
The deployment typically takes around twenty minutes.
Run the kubectl command below to see all the resources that were also created in the mongodb-helm namespace:
kubectl -n mongodb-helm get allYou can see that three pods and two services have been created, alongside instances of the MongoDB database as statefulSets.

Verify the secret and persistent volume claim created for the MongoDB database:
kubectl -n mongodb-helm get secret
kubectl -n mongodb-helm get pvc
You should have a secret and three persistent volume claims created for each instance (pods) of the MongoDB database:

You have now deployed a MongoDB database in your Kubernetes cluster with Helm.
Deploying Mongo-Express
Now that you have your MongoDB database up and running, you’ll need to deploy Mongo-express so you can access the MongoDB database via a UI.
Deploying Mongo-express isn’t as complex as deploying a fully fledged database, so you don’t need a Helm chart for it.
Create a file called mongodb-express.yaml and add the following configuration to create a deployment called mongo-express with one instance of mongo-express.
apiVersion: apps/v1
kind: Deployment
metadata:
  name: mongo-express # deployment name
  labels:
    app: mongo-express
spec:
  replicas: 1 #only one instance of Mongo-express
  selector:
    matchLabels:
      app: mongo-express
  template:
    metadata:
      labels:
        app: mongo-express
    spec:
      containers:
      - name: mongo-express #container name
        image: mongo-express #image name
        ports:
        - containerPort: 8081 #the port Mongo-express listens on
        env:
        - name: ME_CONFIG_MONGODB_ADMINUSERNAME # mongo admin username.
          value: root
        - name: ME_CONFIG_MONGODB_SERVER # mongodb container name
          value: mongodb-0.mongodb-headless.mongodb-helm.svc.cluster.local:27017 #mongodb server that mongo express will connect to
        - name: ME_CONFIG_MONGODB_ADMINPASSWORD #mongodb admin password
          valueFrom:
            secretKeyRef:
              name: mongodb
              key: mongodb-root-password #mongodb password configured as a MOngodb secret
Add the following configuration settings to create an internal service called mongo-express-service to deploy the mongo-express image container on port 8081 and connect to the MongoDB server using the ME_CONFIG_MONGODB_ADMINUSERNAME, ME_CONFIG_MONGODB_SERVER and ME_CONFIG_MONGODB_ADMINPASSWORD as environment variables.
---
apiVersion: v1
kind: Service
metadata:
  name: mongo-express-service #service name
spec:
  selector:
    app: mongo-express
  ports:
    - protocol: TCP
      port: 8081 #container port
targetPort: 8081 #container target portRun the kubectl command below to deploy Mongo-express:
kubectl -n mongodb-helm apply -f mongodb-express.yamlIf deployed successfully, you should have the following output:

Confirm if mongo-express is up and running, using the kubectl commands below:
kubectl -n mongodb-helm get deployment
kubectl -n mongodb-helm get service
With the output below you have mongo-express up and running.

Deploying an Nginx Ingress Controller Using Helm
Now that you have Mongo-Express running, you’ll now need to deploy an Nginx Ingress controller to handle browser requests, so you can access MongoDB from a web browser.
Run the command below to install the repository containing the Nginx Ingress controller Helm chart.:
helm repo add ingress-nginx https://kubernetes.github.io/ingress-nginx #adds the repository containing the Nginx ingress controller helm chart
helm repo update #updates the repository
Install the Nginx Ingress controller Helm chart using the command below:
The command below will deploy the Nginx Ingress controller as a Helm chart in the mongodb-helm namespace as nginx ingress.
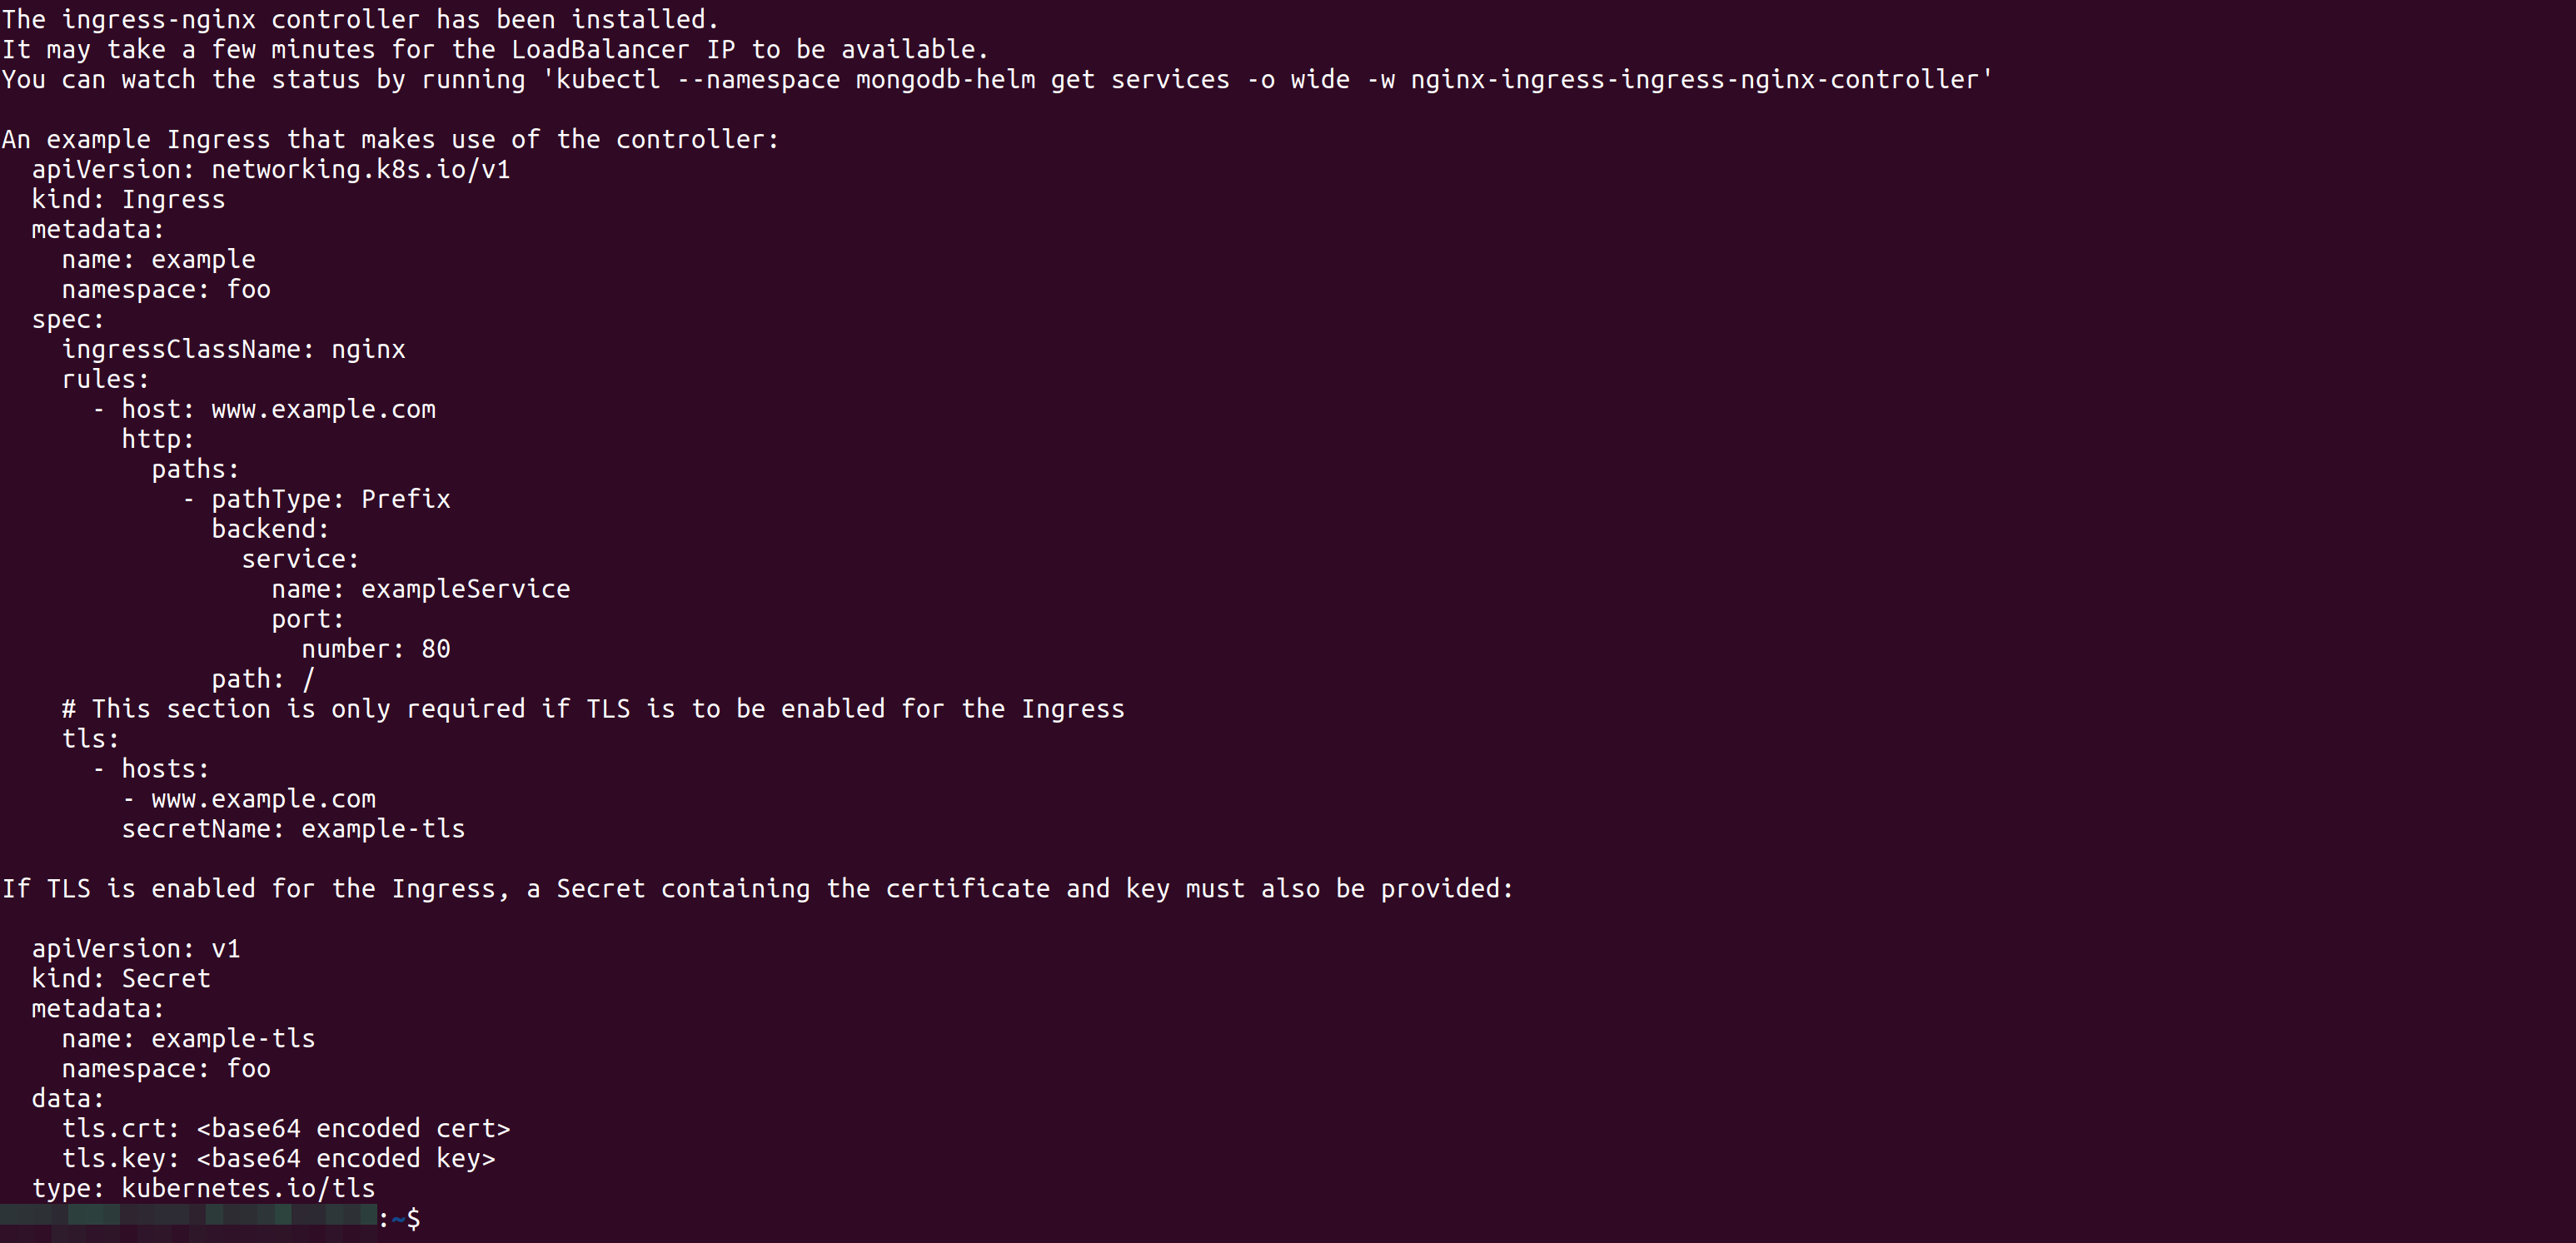
helm install -n mongodb-helm nginx-ingress ingress-nginx/ingress-nginxWait for the Nginx ingress controller to install; if the installation is successful, you’ll have an image similar to the one below:

Confirm that the Nginx Ingress controller pod and service are up and running using the command below:
kubectl -n mongodb-helm get pods
kubectl -n mongodb-helm get svc
You can see the Ingress controller pod and service deployed as a LoadBalancer with a ClusterIP and an External IP alongside the Nginx ingress controller default backend:

Now, create a file called ingress.yaml and paste in the following configuration settings:
The configuration setting below will create an Ingress rule, that’ll forward all browser requests for the mongo-express-service to point to your domain name. Ensure you have the external IP address of the Nginx ingress controller mapped to your domain name.
apiVersion: networking.k8s.io/v1
kind: Ingress
metadata:
  annotations:
    kubernetes.io/ingress.class: "nginx"
  name: mongo-express-ingress
spec:
  rules:
    -  host: 104-200-26-90-ip.linodeusercontent.com \
    #the domain name that points to the nginx ingress controller
       http:
        paths:
          -  path: "/"
             pathType: Prefix
             backend:
                service:
                  name: mongo-express-service #the service you \
                  want to access over the domain name
                  port:
                    number: 8081
Run the following command to apply this file:
kubectl -n mongodb-helm apply -f ingress.yaml
Confirm that the Ingress resource is up and running, using the command below:
kubectl -n mongodb-helm get ingress
Now, open up your preferred web browser and add the url below to access Mongo Express:
http://your_domain_name_here
http://104-200-26-90-ip.linodeusercontent.com
Conclusion
That’s Helm for you - a real lifesaver for Kubernetes. You’ve learned how to deploy a MongoDB database, come up with a mongo-express service for a UI, and use Helm to deploy an Nginx Ingress controller, all without the headaches of manual configuration.
If you’ve enjoyed the simplicity and consistency Helm brings to Kubernetes, you might also love Earthly, a tool designed to make build automation even simpler and more consistent. It’s definitely worth checking out.
Earthly Lunar: Monitoring for your SDLC
Achieve Engineering Excellence with universal SDLC monitoring that works with every tech stack, microservice, and CI pipeline.


