Building APIs with Rust Rocket and Diesel
Table of Contents
This article provides a guide on creating APIs in Rust using the Rocket framework and Diesel ORM. It explains the setup, configuration, and implementation of CRUD operations in a Rust project, emphasizing practical application through examples.
Rust is a formidable contender in the backend development scene, drawing attention for its unparalleled emphasis on speed, memory safety, and concurrency. Rust’s popularity has propelled it to the forefront of high-performance application development, making it an irresistible choice for those seeking performance and security in their codebase.
Harnessing the full potential of Rust’s capabilities entails navigating its expansive ecosystem of libraries and tools, a common pain point new Rust developers face.
In this tutorial, you’ll learn about Rust’s API development process, focusing on a key player in the Rust web framework arena – Rocket. Rocket is recognized for its concise syntax that simplifies route definition and HTTP request handling. Furthermore, you’ll explore Rust’s compatibility with various databases, from PostgreSQL to MySQL and SQLite, facilitating seamless data persistence within your applications.
Prerequisites
You’ll need to meet a few prerequisites to understand and follow this hands-on tutorial:
- You have experience working with Rust and have Rust installed on your machine.
- Experience working with the Diesel package and SQL databases in Rust is a plus.
Head to the Rust installations page to install Rust on your preferred operating system.
Getting Rust Rocket and Diesel
Once you’ve set up your Rust workspace with Cargo, add the Rocket and Diesel packages to the dependencies.toml file that Cargo created during the project initialization:
[dependencies]
diesel = { version = "1.4.5", features = ["sqlite"] }
dotenv = "0.15.0"
serde = { version = "1.0", features = ["derive"] }
serde_json = "1.0"
rocket_contrib = "0.4.11"
rocket_codegen = "0.4.11"
rocket = "0.4.11"
serde_derive = "1.0.163"
You’ve specified that you want to use version 0.5.4 of the Rocket crate and version 1.4.5 of the Diesel crate with its sqlite feature.
You’ll use the serde and serde_json crates for JSON serialization and deserialization.
Here’s the list of imports and directives you’ll need to build your API:
#![feature(proc_macro_hygiene, decl_macro)]

#[macro_use]
extern crate diesel;

use diesel::prelude::*;
use rocket::delete;
use rocket::get;
use rocket::post;
use rocket::put;
use rocket::routes;
use rocket_contrib::json::{Json, JsonValue};
use serde_json::json;

use serde_derive::{Deserialize, Serialize};

use crate::schema::student::dsl::student;

mod schema;
After importing the necessary types and functions, you can set up your database and build your API.
Setting Up the Database for Persistence with Diesel

Diesel provides a CLI tool that makes setting up persistence and interacting with the database easier.
Run this command in the terminal of your working directory to install the Diesel CLI tool:
cargo install diesel_cli --features sqliteAfter installing the tool, create an environment variables file and declare a DATABASE_URL variable for your database URL.
Here’s a command you can run on your terminal to create the file and insert the database URL for an SQLite database.
echo DATABASE_URL=database.db > .envIn this case, database.db is the database URL relative to your current working directory since you’re using a SQLite in-memory database.
Next, use the diesel setup command to set up your database. Diesel will connect to the database to ensure the URL is correct.
diesel setupThen, set up auto migration for easier persistence on the database with the migration generate command that takes the table name as an argument. Setting up automatic migrations help with easier database entries.
diesel migration generate create_studentsOn running the command, Diesel will create a directory with two files: up.sql and down.sql. Executing the up.sql file will help create tables and entries, while executing the down.sql file will drop the database tables depending on your specification.
Open the up.sql file and paste the SQL statement to create your app’s table(s).
-- Your SQL goes here

CREATE TABLE "students"
(
    "id"         INTEGER NOT NULL PRIMARY KEY AUTOINCREMENT,
    "first_name" TEXT    NOT NULL,
    "last_name"  TEXT    NOT NULL,
    "age"        INTEGER NOT NULL
);
Add the SQL statement that drops your created tables in the down.sql file.
-- down.sql

-- This file should undo anything in `up.sql`
DROP TABLE "students"
After editing the up.sql and down.sql files, run the migration run command to run pending migrations for the database connection.
diesel migration runYou’ll find a schema.rs file in your project’s src directory containing code for interacting with the database tables.
// @generated automatically by Diesel CLI.

diesel::table! {
    student (id) {
        id -> Integer,
        first_name -> Text,
        last_name -> Text,
        age -> Integer,
    }
}
Attach the schema.rs file to your main.rs file with the mod schema directive to use the contents of the schema.rs file in the main.rs file.
You must declare structs for data serialization, migrations, and deserialization operations. Create a models.rs file and add struct definitions to match your database schema.
Here are the structs for the CRUD operations:
#[derive(Queryable, Serialize)]
pub struct Student {
    pub id: i32,
    pub first_name: String,
    pub last_name: String,
    pub age: i32,
}

#[derive(Queryable, Insertable, Serialize, Deserialize)]
#[table_name = "student"]
pub struct NewStudent<'a> {
    pub first_name: &'a str,
    pub last_name: &'a str,
    pub age: i32,
}

#[derive(Deserialize, AsChangeset)]
#[table_name = "student"]
pub struct UpdateStudent {
    first_name: Option<String>,
    last_name: Option<String>,
    age: Option<i32>,
}
The request handler functions will return the Student struct. You’ll use the NewStudent for data migration and the UpdateStudent struct for update operations. The DELETE operation doesn’t need a struct since you’ll delete entries from the database with the id.
Here you’ve successfully set up the database, and you can start building your API that interacts with the database of Diesel.
Next, you’ll write the program for CRUD operations on the database based on incoming requests to the server.
The POST Request Handler Function
Your POST request handler function will retrieve JSON data from the client, parse the request, insert the data into the database, and return a JSON message to the client after a successful insertion process.
Here’s the function signature of the POST request handler function:
#[post("/student", format = "json", data = "<new_student>")]
pub fn create_student(new_student: Json<NewStudent>) -> Json<JsonValue> {

}
The create_student function takes in a Json object of the NewStudent type and returns a Json object of the JsonValue type.
The #[post("/student", format = "json", data = "<new_student>")] line is a Rocket attribute that specifies the HTTP method, URL path, and data format for the handler function.
Here’s the full function that establishes a database connection and inserts the data into the database:
#[post("/student", format = "json", data = "<new_student>")]
pub fn create_student(new_student: Json<NewStudent>) -> Json<JsonValue> {
    let connection = establish_connection();
    let new_student = NewStudent {
        first_name: new_student.first_name,
        last_name: new_student.last_name,
        age: 17,
    };

    diesel::insert_into(crate::schema::student::dsl::student)
        .values(&new_student)
        .execute(&connection)
        .expect("Error saving new student");

    Json(JsonValue::from(json!({
        "status": "success",
        "message": "Student has been created",

    })))
}
The connection variable is the connection instance, and the new_student variable is an instance of the NewStudent struct containing data from the request.
The create_student function inserts the new_student struct instance into the database with the values method diesel’s insert_into function before returning the response to the client.
In your main function, you’ll ignite a rocket instance with the ignite function and mount the routes on a base route with the mount function that takes in the base route and a list of routes.
Finally, you’ll call the launch function on your rocket instance to start the server.
fn main() {
        rocket::ignite().mount("/", routes![
        create_student,
    ]).launch();
}
On running your project with the cargo run command, the rocket should start a server on port 8000, and you can proceed to make API calls to your POST request endpoint.
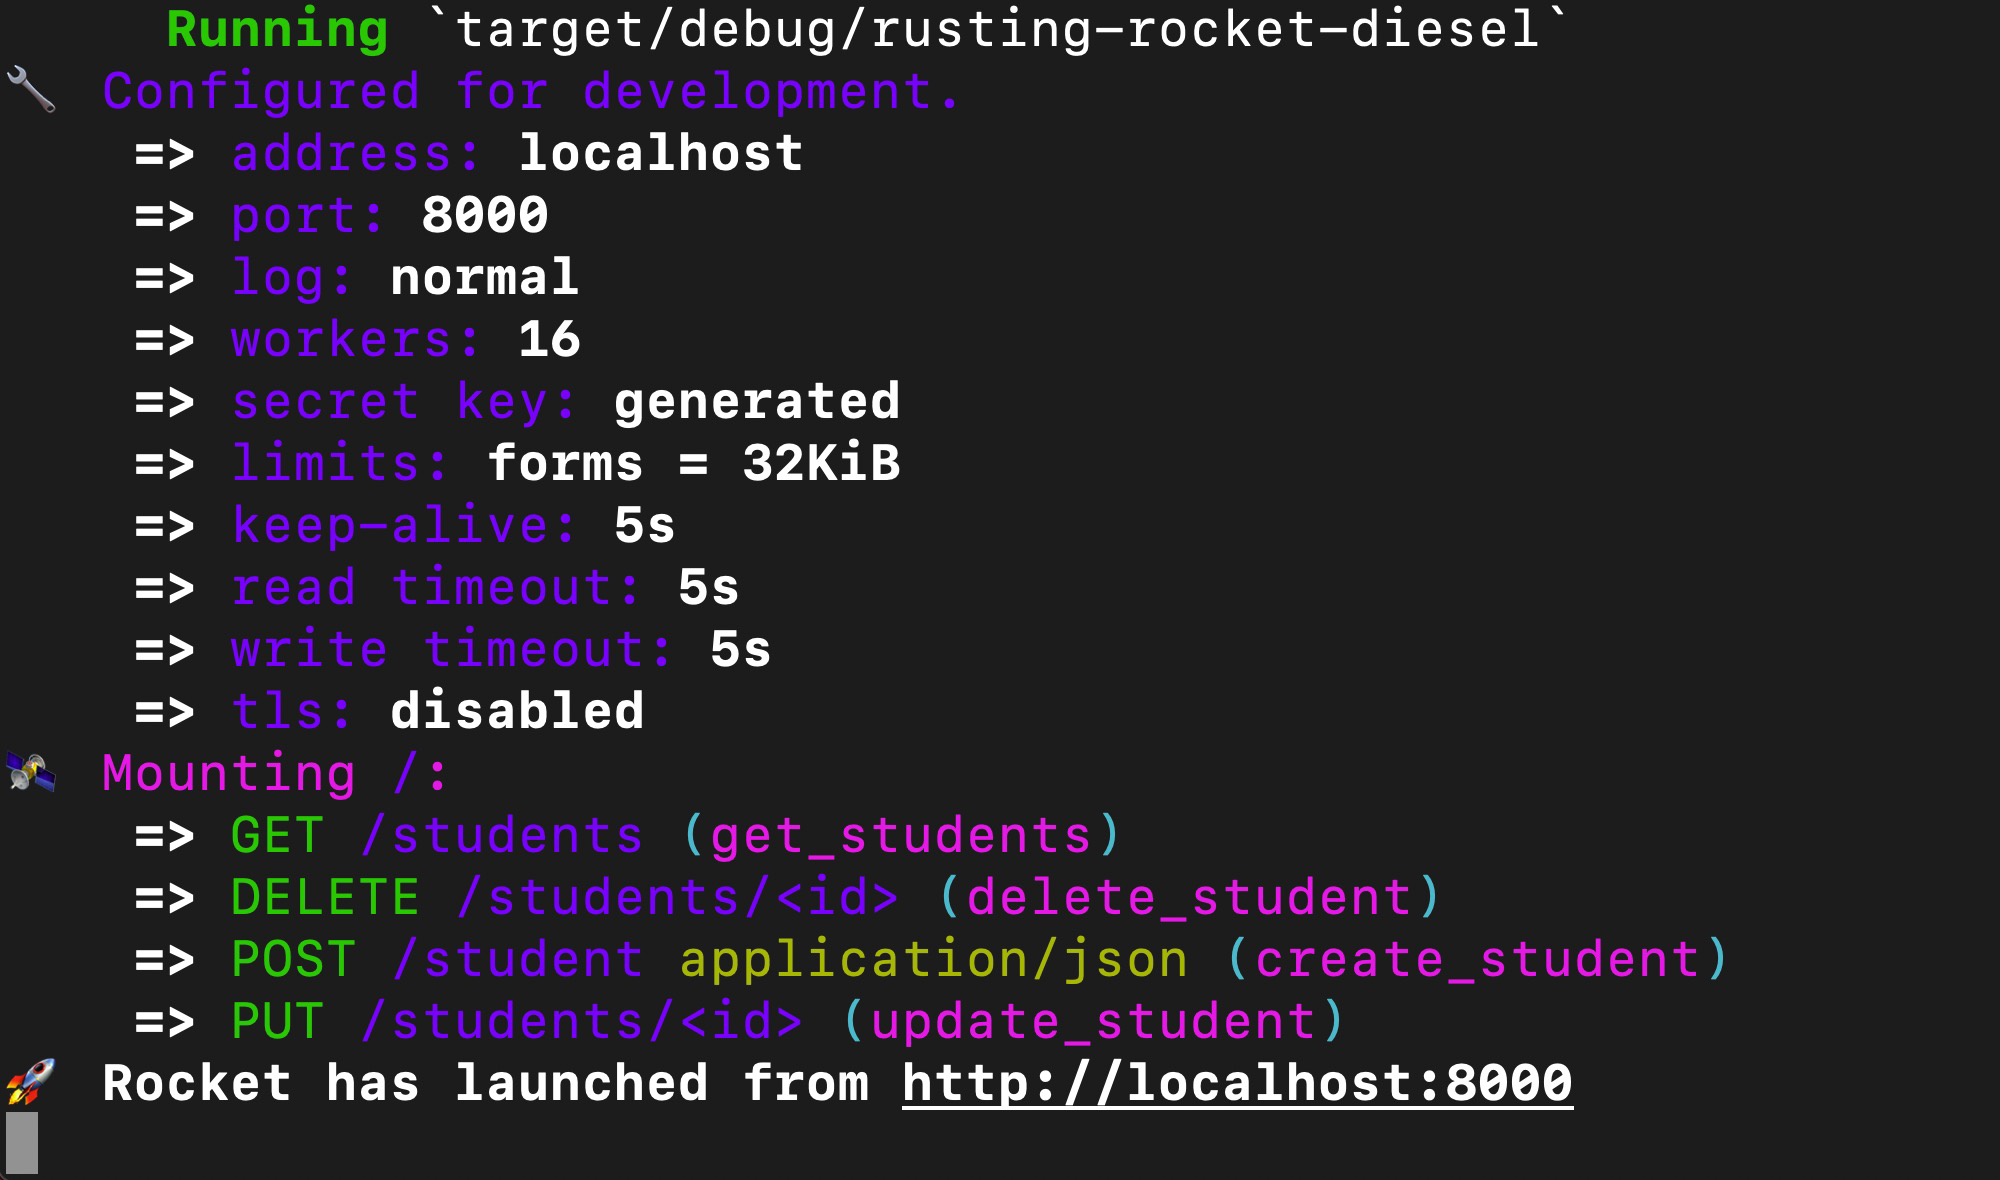
Here’s a CURL request that sends a POST request with a JSON payload to the student endpoint:
curl -X POST http://localhost:8000/student -H \
'Content-Type: application/json' -d \
'{"first_name": "John", "last_name": "Doe", "age": 17}'
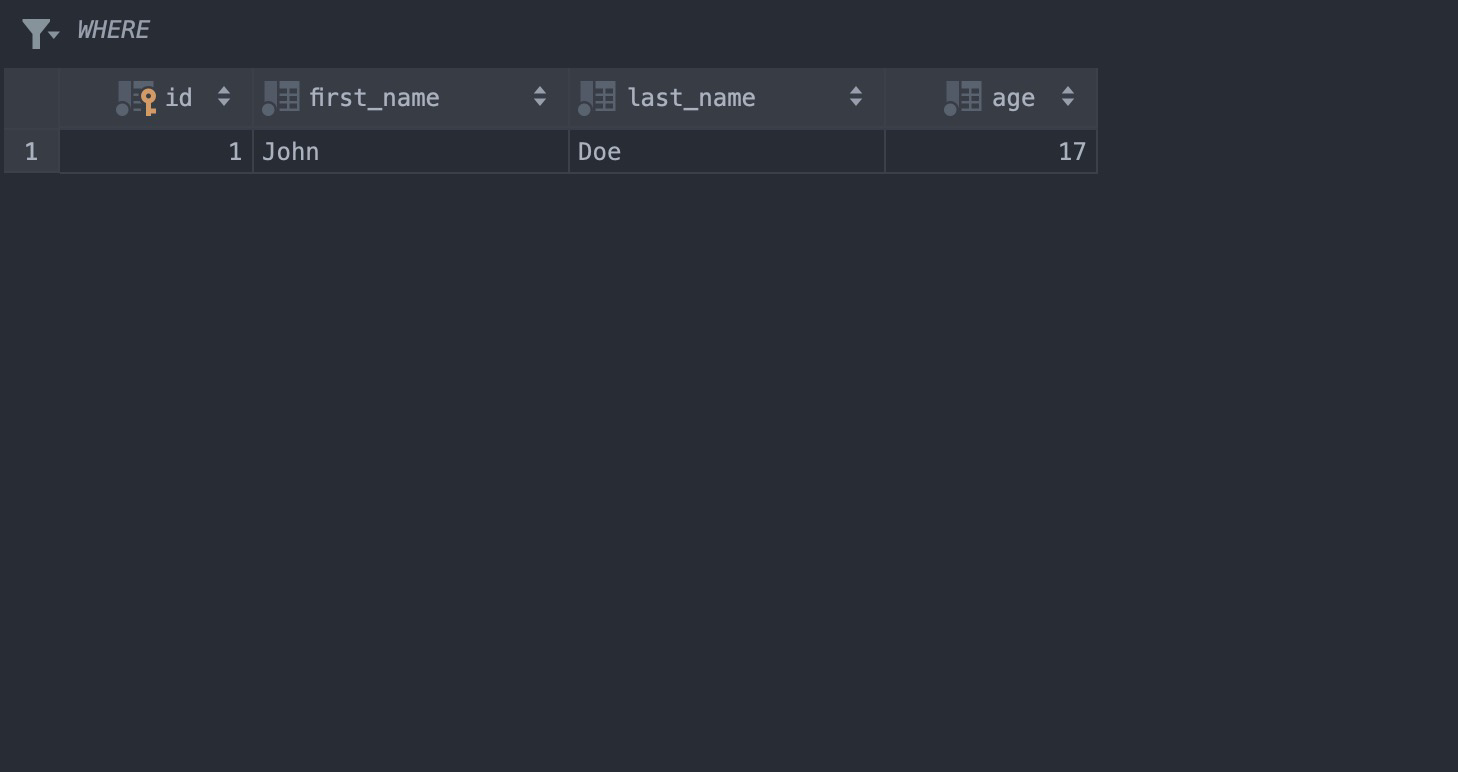
Here’s the result of running the CURL request:
The GET Request Handler Function
Your GET request handler function will return all the entries in the database as JSON to the client. Here’s the function signature of the GET request handler function:
#[get("/students")]
pub fn get_students() -> Json<JsonValue> {

}
The get_students function doesn’t take in any values and returns a Json object of the JsonValue type.
Here’s the full function that establishes a database connection and retrieves the data from the database:
#[get("/students")]
pub fn get_students() -> Json<JsonValue> {
    let connection = establish_connection();

    let students = student.load::<Student>(&connection)\
    .expect("Error loading students");

    Json(JsonValue::from(json!({
        "students": students,
    })))
}
The get_students function retrieves all the Student entries from the database with the load function and returns the values with the json! macro.
Add the get_students function to your routes! to register the handler function on the rocket instance and run your application.
fn main() {
        rocket::ignite().mount("/", routes![
        get_students,
        create_student,

    ]).launch();
}
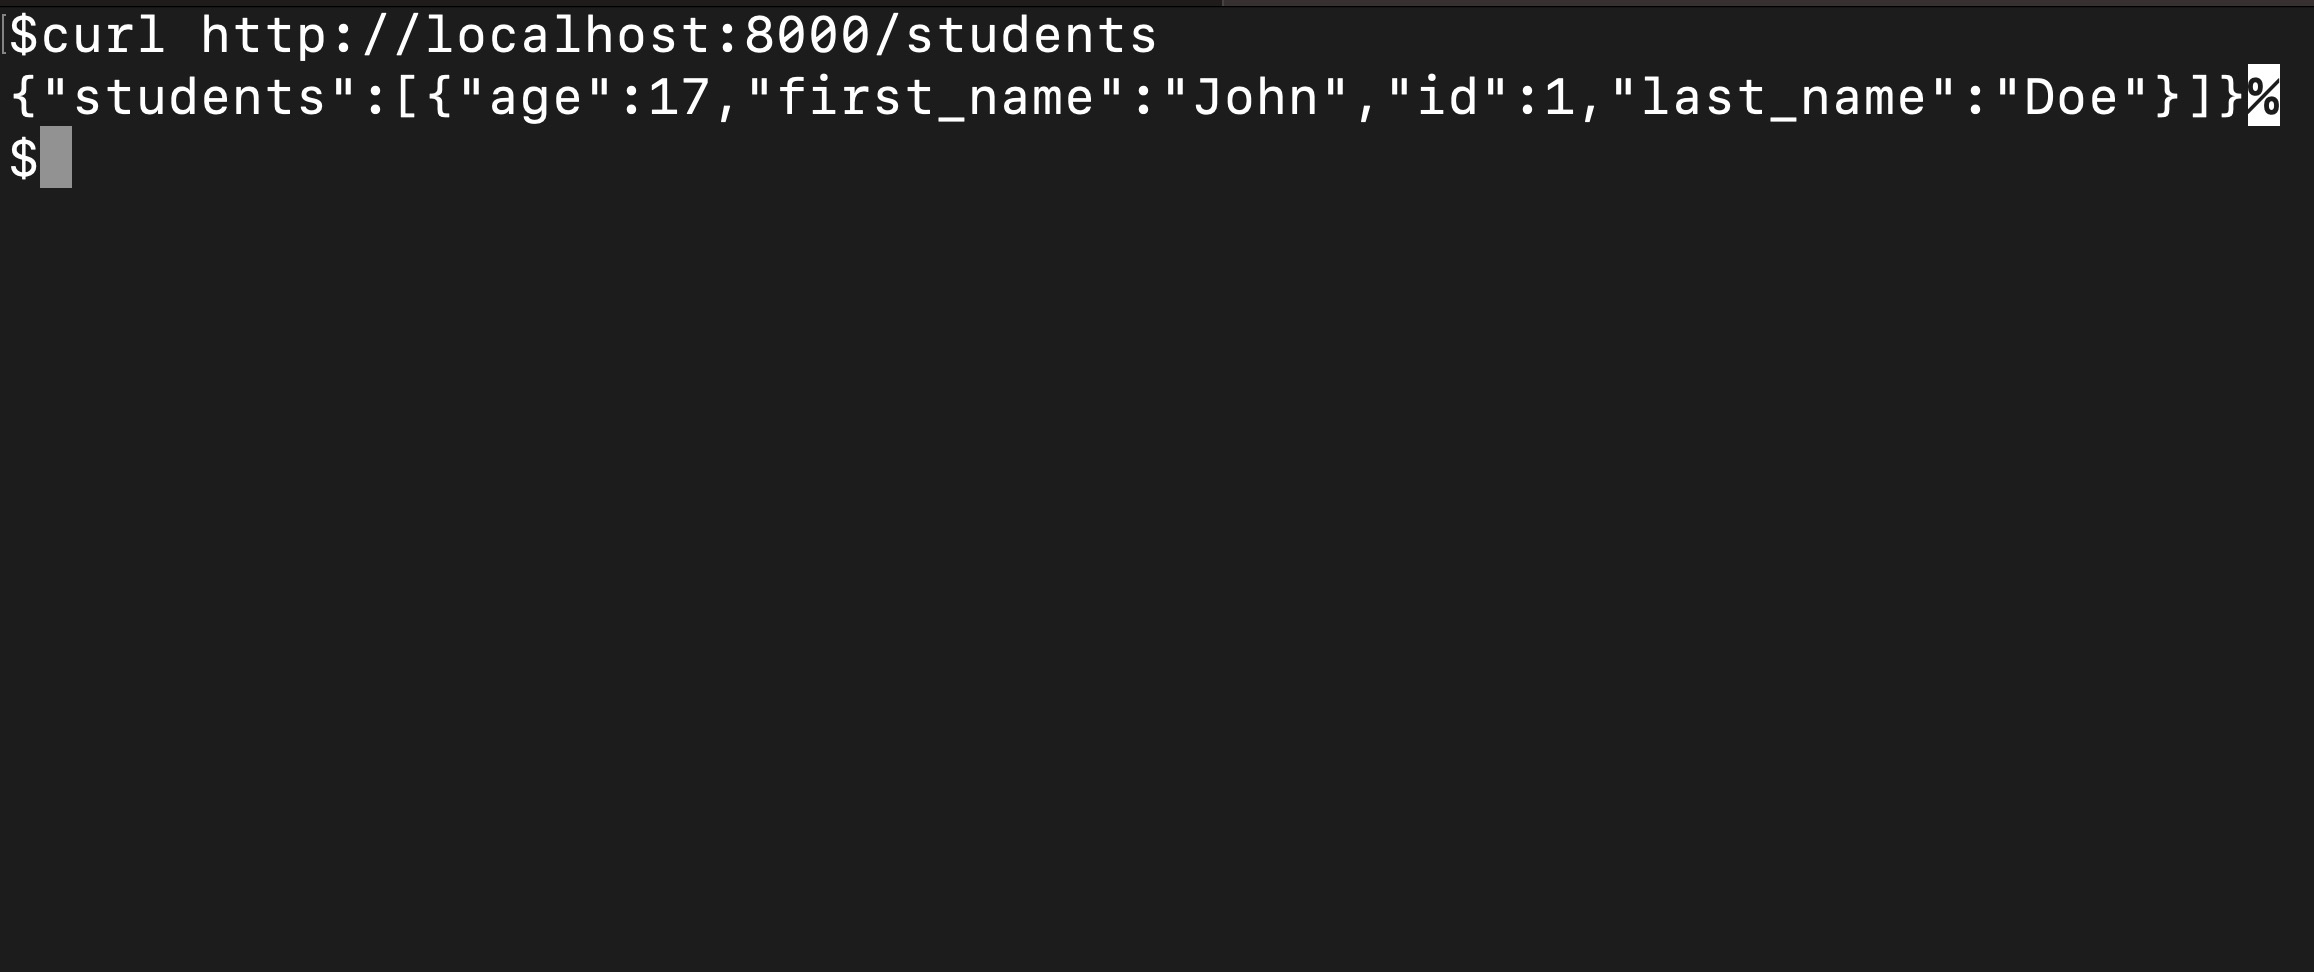
On running your app, you should be able to hit the /student endpoint with a GET request that retrieves all the entries in the database.
Here’s the CURL request that hits the /student endpoint and retrieves entries in the database:
curl http://localhost:8000/studentsHere’s the from running the CURL GET request:
The PUT Request Handler Function
Your PUT request handler function will update an entry in the database after searching for the entity with the matching id field.
Here’s the function signature of the GET request handler function:
#[put("/students/<id>", data = "<update_data>")]
pub fn update_student(id: i32, update_data: Json<UpdateStudent>)\
 -> Json<JsonValue> {

}
The update_student function takes in the id and a Json object of the UpdateStudent type and returns a Json object of the JsonValue type.
Here’s the full function that establishes a database connection and updates values in the database:
#[put("/students/<id>", data = "<update_data>")]
pub fn update_student(id: i32, update_data: Json<UpdateStudent>) ->\
 Json<JsonValue> {
    let connection = establish_connection();

    // Use the `update` method of the Diesel ORM to update
    // the student's record
    let _updated_student = diesel::update(student.find(id))
        .set(&update_data.into_inner())
        .execute(&connection)
        .expect("Failed to update student");

    // Return a JSON response indicating success
    Json(JsonValue::from(json!({
        "status": "success",
        "message": format!("Student {} has been updated", id),
    })))
}
After establishing the connection with the establish_connection function, the update_student function updates the entity in the database with the value from the update_data parameter after searching for a matching id with the find function. The update_student function returns a message containing the ID of the updated entity after a successful operation.
Add the update_students function to your routes! to register the handler function on the rocket instance and run your application.
fn main() {
        rocket::ignite().mount("/", routes![
        get_students,
        create_student,
        update_student,
    ]).launch();
}
On running your app, you should be able to hit the /students/<id> endpoint with a PUT request that updates the entity that has the specified id value.
Here’s a CURL request that sends a PUT request to the server:
curl -X PUT http://localhost:8000/students/1 -H \
'Content-Type: application/json' -d \
'{"first_name": "Jane", "last_name": "Doe", "age": 18}'
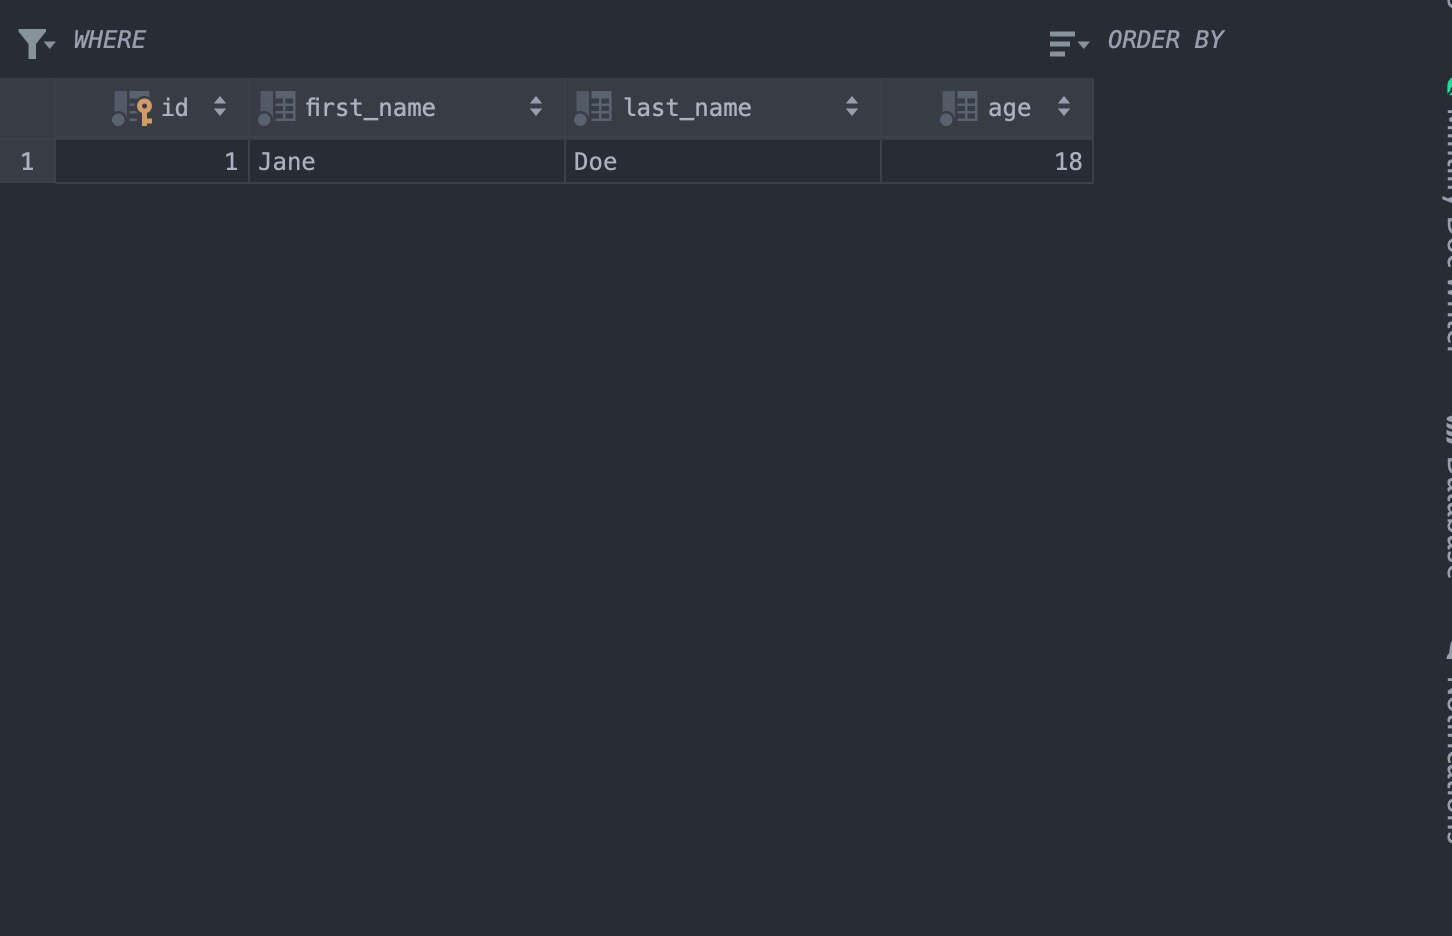
Here’s the result of the update operation attempt for the row with the id equal to 1.
The DELETE Request Handler Function
Your DELETE request handler function will delete an entry from the database after searching for the entity with the matching id field.
Here’s the function signature of the DELETE request handler function:
#[delete("/students/<id>")]
pub fn delete_student(id: i32) -> Json<JsonValue> {

}
The delete_student function takes in the id of the entity you want to delete and returns a Json object of the JsonValue type.
Here’s the full function that establishes a database connection and deletes values from the database:
#[delete("/students/<id>")]
pub fn delete_student(id: i32) -> Json<JsonValue> {
    let connection = establish_connection();

    diesel::delete(student.find(id)).execute(&connection)./
    expect(&format!("Unable to find student {}", id));

    Json(JsonValue::from(json!({
        "status": "success",
        "message": format!("Student with ID {} has been deleted", id),
    })))
}
The delete_student function deletes the entity from the database with the delete function after searching for the entity with the find function.
The delete_student function returns a message containing the ID of the deleted entity after a successful operation.
Add the delete_student function to your routes! to register the handler function on the rocket instance and run your application.
fn main() {
        rocket::ignite().mount("/", routes![
        get_students,
        delete_student,
        create_student,
        update_student,
    ]).launch();
}
On running your app, you should be able to hit the /students/<id> endpoint with a DELETE request that deletes the entity that has the specified id value.
Here’s a CURL request that sends a DELETE request to the /students/<id> endpoint on the server:
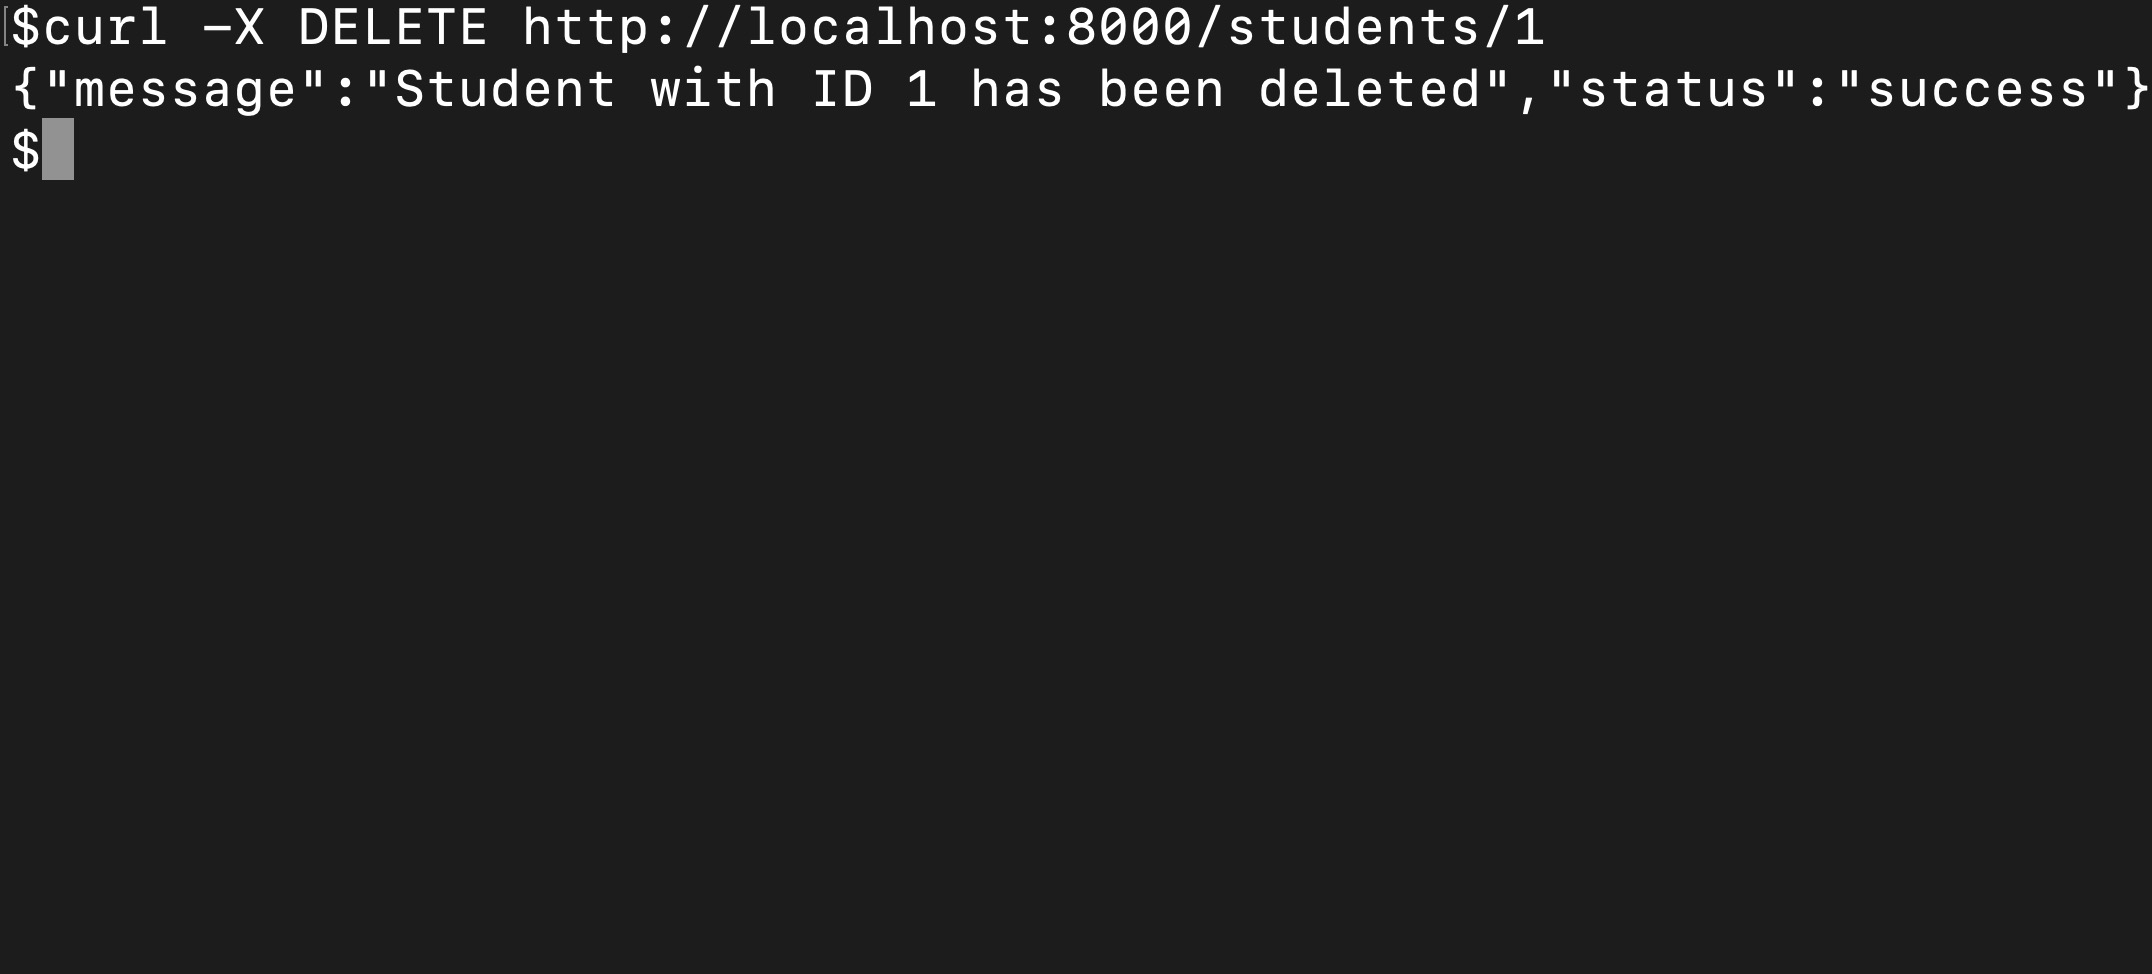
curl -X DELETE http://localhost:8000/students/1Here’s the result of the delete operation attempt for the row with the id equal to 1:
Conclusion
You’ve learned how to build a CRUD REST API with Rust’s Rocket and Diesel libraries.
You can check out Rocket and Diesel’s documentation to learn more about these libraries for more advanced operations like using WebSockets and defining custom middleware.
Earthly Lunar: Monitoring for your SDLC
Achieve Engineering Excellence with universal SDLC monitoring that works with every tech stack, microservice, and CI pipeline.


