Create a Python Package using Setup.py
In this Series
Table of Contents
Python has a vibrant open source ecosystem and that has been one of the keys to its popularity. As a Python developer, you can create reusable tools and code and easily share them with others. Packaging and publishing your Python code properly enables other developers to easily install and use your code in their own projects. This allows you to contribute back to the community while also building your reputation.
In this 3-part series, we’ll cover packaging a simple Python script using setuptools and twine, then an alternative method using poetry, then we will extend what we learn to a C module, and finally we will publish it to PyPI.
In this first article, I’ll show you how to package your Python code into distributions, and then publish those packages on PyPI (the Python Package Index) using setuptools and twine. Learning these skills will help you level up your ability to produce professional, sharable Python software.
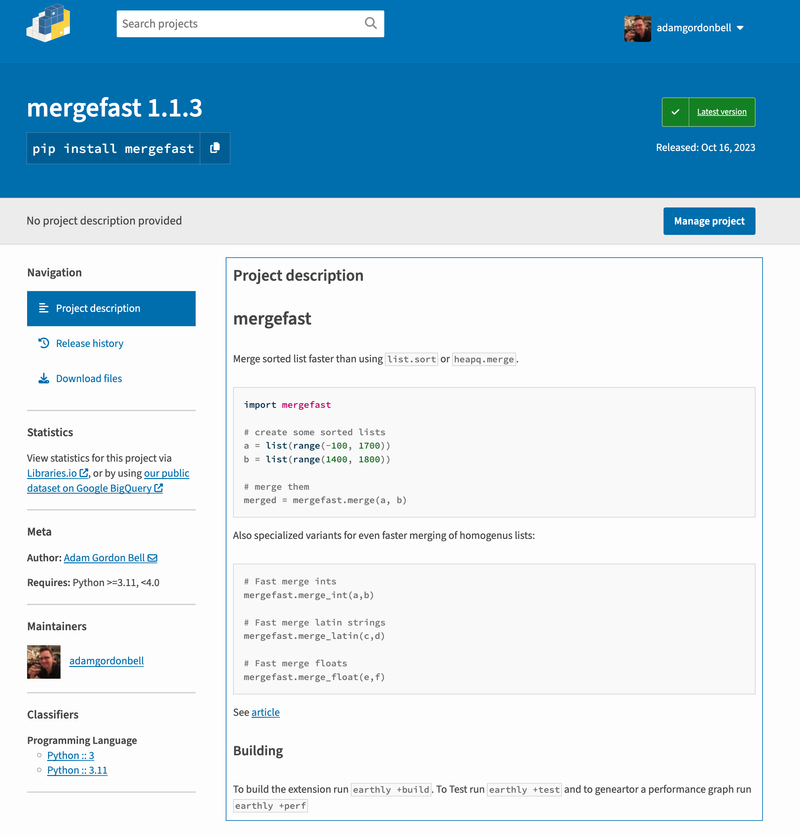
Merge Lists Code
To start, we’ll use the following simple Python code snippet as an example to package:
(See earlier article about merge sorted lists for background.)
def merge(list1, list2):
    merged_list = []
    i, j = 0, 0

    while i < len(list1) and j < len(list2):
        if list1[i] < list2[j]:
            merged_list.append(list1[i])
            i += 1
        else:
            merged_list.append(list2[j])
            j += 1

    # Add any remaining elements from list1 or list2
    while i < len(list1):
        merged_list.append(list1[i])
        i += 1

    while j < len(list2):
        merged_list.append(list2[j])
        j += 1

    return merged_list
Lets get that up on PyPI using setuptools.
(In Part Two, we’ll package it with Poetry and in Part Three, we’ll port the C version of the code to PyPi.)
First step is to find a name for our package.
Choosing A Package Name
Before diving into how to choose a good name for your Python package, it’s important to understand why the name matters in the first place. Originally, I had called this package PyMerge. There are a number of problems with that, including that this name has been taken already.
You can check what already in use by searching around on PyPI. If you push a package that’s already been taken you’ll get this:
HTTP Error 403: The user 'adamgordonbell' isn't allowed to upload to ↩
project 'PyMerge'.
See https://pypi.org/help/#project-name for more information.
The name being in used forced me to look for a new name and its a good thing I did because it turns out PyMerge is a horrible name. The package name is the first impression of your package people get - it’s worth investing time to get it right and ensure your project puts its best foot forward.
When selecting a name for your package, follow these rules set forth by the Python Packaging Authority (PyPA):
Keep It Short & Descriptive: Names should be short, but also give a clear idea of what the package does. For example, requests is a popular library that makes HTTP requests.
Avoid Underscores: Although underscores are allowed, dashes are more common in package names. However, note that the actual module or package inside might use underscores (e.g., the package
dateutilon PyPI corresponds to thedate_utilmodule when imported in Python).Avoid Uppercase Letters: Lowercase names are conventional for package names. This makes them easy to type and avoids ambiguity on case-sensitive file systems.
Check for Name Availability: Before finalizing a name, search on PyPI to ensure that the name isn’t already taken. Even if it’s available, avoid names that are too similar to existing packages to prevent confusion.
Avoid Generic Names: Names that are too generic can be misleading. For example, a package named data would be too vague.
Prefixes/Suffixes: If your package is an extension or related to another package, consider using a prefix or suffix. For instance, flask- is a common prefix for Flask extensions (e.g., flask-login).
Avoid
PyPrefix: While many packages use the “py” prefix to indicate they are Python packages (e.g., pyspark, pytz), it’s become somewhat redundant since the package will be on PyPI, and it’s understood that it’s for Python. However, it’s not a strict rule, and some popular packages still use it.Convey Main Benefit or Feature: If possible, the name should convey the main benefit or feature of the package. For a merge algorithm that’s faster, words like “fast”, “speed”, “quick”, “swift”, or “turbo” could be part of the name.
So, you can see PyMerge broke almost all of these rules and so I settled on the name mergefast1 which meets all the rules.
Setup Your Package Structure
Once you’ve got a package name chosen, adjust your file structure to match:
mergefast
├── README.md
├── mergefast
│   ├── __init__.py
│   └── core.py
├── setup.py
Here I’ve created a mergefast folder in my project and created a blank __init__.py and then added my core.py from above to this folder.
(setup.py we cover next.)
Creating a Distribution With SetupTools
There are a couple of different paths you can go down when creating a distribution in python. We are going to be using setuptools.
Setup tools comes bundled with Python by default, so all we need to do to start is create a setup.py file.
from setuptools import setup

setup(
    name='mergefast',
    version='0.1.3',
    py_modules=['mergefast']
)
This is most minimal setup.py we can create. More details like description and author can also be added.
Source Distribution
Next create a source distribution sdist:
> python3 setup.py sdistYou can also do this with python build 2
> python -m build --sdistrunning sdist
...
copying mergefast.egg-info/top_level.txt -> mergefast-0.1.3/mergefast.egg-info
copying tests/__init__.py -> mergefast-0.1.3/tests
copying tests/test.py -> mergefast-0.1.3/tests
Writing mergefast-0.1.3/setup.cfg
Creating tar archive
removing 'mergefast-0.1.3' (and everything under it)A tar.gz distribution will be produced:
mergefast
├── README.md
├── dist
│   └── mergefast-0.1.3.tar.gz
├── mergefast
├── mergefast.egg-info
│   ├── PKG-INFO
│   ├── SOURCES.txt
│   ├── dependency_links.txt
│   └── top_level.txt
├── setup.py
Building the whl
We can do the same thing to produce a wheel, which is compiled version of the package.
python3 setup.py bdist_wheelOr the newer version of the command
python -m build --wheel* Creating virtualenv isolated environment...
* Installing packages in isolated environment... (setuptools >= 40.8.0, wheel)
* Getting build dependencies for wheel...
...
adding 'mergefast/__init__.py'
adding 'mergefast/core.py'
adding 'tests/__init__.py'
adding 'tests/test.py'
adding 'mergefast-0.1.3.dist-info/METADATA'
adding 'mergefast-0.1.3.dist-info/WHEEL'
adding 'mergefast-0.1.3.dist-info/top_level.txt'
adding 'mergefast-0.1.3.dist-info/RECORD'
removing build/bdist.macosx-13-arm64/wheel
Successfully built mergefast-0.1.3-py3-none-any.whlThis gives you a wheel:
.
├── Earthfile
├── README.md
├── build
├── dist
│   ├── mergefast-0.1.3-py3-none-any.whl
│   └── mergefast-0.1.3.tar.gz
├── mergefast.egg-info
│   ├── PKG-INFO
│   ├── SOURCES.txt
│   ├── dependency_links.txt
│   └── top_level.txt
├── setup.py
The name of the generated wheel (mergefast-0.1.3-py3-none-any.whl) file tells us a lot about the package:
mergefast: This is the package name.
0.1.3: This is the version number of the package.
py3: This indicates that the package is compatible with Python 3. The package is expected to work with any Python 3 version. If it were py2.py3, that would mean it’s compatible with both Python 2 and Python 3.
none: The package does not contain any compiled extensions or is not ABI-specific. ( In part three, you’ll see this vary lead to some complications).
any: This denotes the platform. “Any” means the package is platform-independent. ( This will come up in why we build a Python C extension as well. ) Because this wheel works with any platform and any version of Python 3, our source tar is not necessarily needed by PyPi - our compiled wheel should work everywhere.
But, let’s test that.
Testing the Package
Ok, one of the tricky things about distributing your package to PyPI is that once you upload it with a specific version number, you can’t change it. The releases are, for practical purposes, immutable.
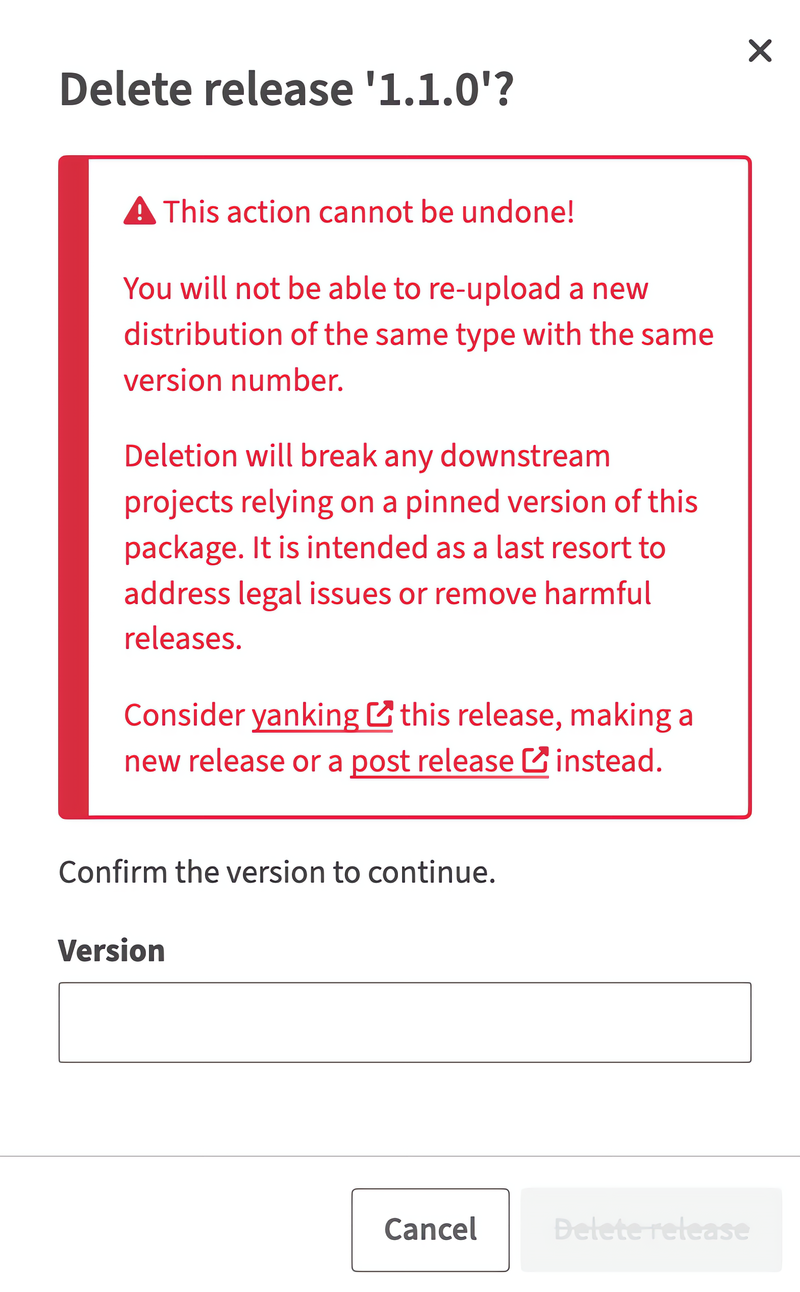
Delete A Package?
You can delete a released version, if its broken, or yank it, making it inaccessible. The thing you can’t do is replace a version number once released.
(There are some build-number based tricks you can find online, but PyPi expects immutable packages, so I’ll avoid talking about tricks to side step immutability.)
Testing: Pip Install Distribution Locally
So you want to make sure your package works before you put it up on PyPI. Ideally you’d want to make sure it works even on different host operating systems. But how can you test the package? Luckily there are several ways to test it.
We can test the source distribution locally, after using pip install:
> pip install ./dist/mergefast-0.1.3.tar.gz
 Processing /dist/mergefast-0.1.3-py3-none-any.whl
 Installing collected packages: mergefast
 Successfully installed mergefast-0.1.3
Then we can test it with test.py or just jump into the python repl and test it out.
> python test.py
timsort took 5.440176733998669 seconds
mergefast took 3.710623259001295 seconds
We can test the whl the same way.
> pip install mergefast-0.1.3.tar.gz
...
> python test.py
timsort took 5.440176733998669 seconds
mergefast took 3.710623259001295 seconds
And everything seems to work! But how do we verify that this package is not dependent on some local configuration that I’ve forgotten to include? It’s easy to take things a bit further.
Earthfile Test
The easiet way to test the package in a repeatable way across architectures and platforms is to use containers. I like to use Earthly for this. All I need to do is wrap the steps we’ve already covered up into an Earthfile target:
test-dist-tar-install:
    FROM python:3.11-buster
    COPY +build/dist dist
    ENV TARFILE=$(ls ./dist/*.tar.gz)
    RUN pip install "$TARFILE"
    COPY tests .
    RUN python test.py
In test-dist-tar-install I start from a python base image, copy from my build step, and then install the tar file we build and test it. (Full Earthfile on GitHub.)
Then I can test the package installation at any time by running earthly +test-dist-tar-install and seeing the test pass:
+test-dist-tar-install | --> COPY +build/dist dist
+test-dist-tar-install | --> expandargs ls ./dist/*.tar.gz
+test-dist-tar-install | --> RUN pip install "$TARFILE"
+test-dist-tar-install | Processing /dist/mergefast-0.1.3.tar.gz
+test-dist-tar-install | --> COPY tests .
+test-dist-tar-install | --> RUN python test.py
+test-dist-tar-install | timsort took 6.349711754999589 seconds
+test-dist-tar-install | mergefast took 27.499190239999734 seconds
I can use the same process to test the wheel:
test-dist-whl-install:
    FROM python:3.11-buster
    COPY +build/dist dist
    ENV WHLFILE=$(ls ./dist/*.whl)
    RUN pip install "$WHLFILE"
    COPY tests .
    RUN python test.py
And with that I have a truly solid way to test before I push it to PyPI.
Twine PyPi Push
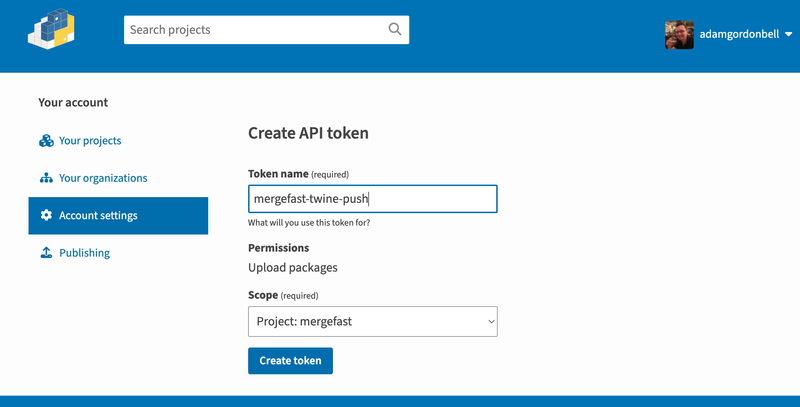
Before we can publish our package to PyPI using twine, there are a couple prerequisite steps we need to complete - registering for an account on PyPI and creating an API token.
While these steps may seem tedious, taking the time to get set up is required in order to securely publish packages to the Python Package Index. The registration and token creation process authenticates us with PyPI and allows us to upload our distributions.
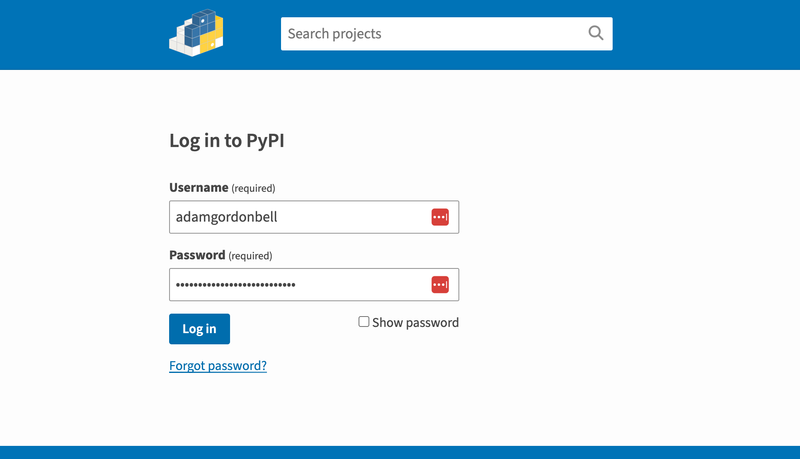
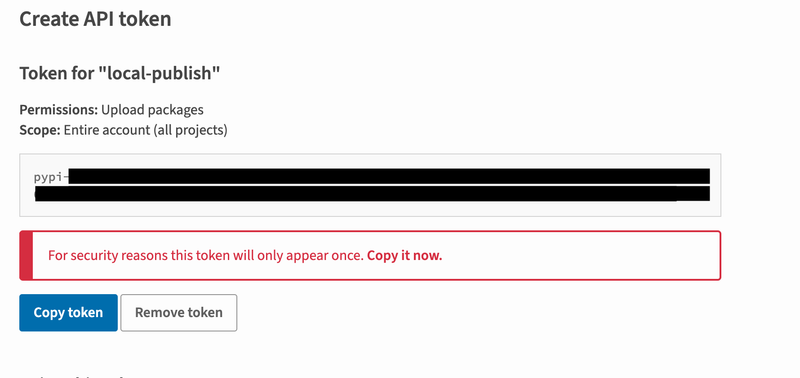
First thing to do is head to PyPI and setup an API key.
Install twine:
pip install twineSetup ENVs for twine with you API Key:
export TWINE_USERNAME=__token__
export TWINE_PASSWORD=**************
Then use twine to upload:
twine upload --repository-url https://upload.pypi.org/legacy/ dist/*Uploading distributions to https://upload.pypi.org/legacy/
Uploading mergefast-0.1.3-py3-none-any.whl
Uploading mergefast-0.1.3.tar.gz
View at https://pypi.org/project/mergefast/0.1.3/For ease of publishing in the future, I put this whole thing in my Earthfile:
twine-publish:
    FROM +build
    COPY +build/dist dist
    RUN --secret TWINE_PASSWORD twine upload --repository-url https://test.pypi.org/legacy/ -u "__token__" -p $TWINE_PASSWORD dist/*
Round Trip Testing
And with that, our package is on PyPI as mergefast. We can test it by removing our on package and reinstalling from PyPI:
pip uninstall mergefast --yes
...
pip install mergefast
...
python test.py
 timsort took 5.440176733998669 seconds
 mergeslow took 2.71025900331295 seconds
Of course, I put this all in my Earthfile as well, for ease of testing:
test-pypi-install:
    FROM python:3.11-buster
    RUN pip install mergefast
    COPY tests .
    RUN python test.py
And with that we have a published package, that we’ve tested end to end. There is more to cover though.
If you want to just skip ahead to the final solution, the full code is available on GitHub and the Earthfile that pulls it all together is there as well.
In the part two, we’ll cover: publishing the package with Poetry and using test.pypi.org for ease of testing. Then, in part 3, we’ll create and package a Python C extension.
Earthly Lunar: Monitoring for your SDLC
Achieve Engineering Excellence with universal SDLC monitoring that works with every tech stack, microservice, and CI pipeline.
That actual package shown here is being published as
mergeslow, because well .. it is slow. The fast version is published asfastmergeand covered in the third article on packaging c extensions. All code is on github.↩︎See this blog post for details on why this way should be preferred.↩︎


