Code From Anywhere: Dev Containers and Github Codespaces

Table of Contents
We recently started using Dev Containers and Codespaces for development on our Jekyll blog here at Earthly. We have a lot of different plugins and dependencies to make things like linting, spell check, and image importing much easier. The problem is, a lot of this was originally set up on an Intel Mac. Now that the team has grown, there are developers using M1s, Linux, and Windows, and so as you can imagine, a lot of our teammates who just want to write a simple blog entry were getting stuck trying to get the blog working locally. Not only did Dev Containers with Codespaces solve this issue for us, it made development in general much easier and more portable.
Dev Containers Vs Codespaces: What’s the Difference?
Dev Containers
You can think of Dev Containers as VS Code running in Docker. They allow you to define a development environment with a Docker or docker-compose.yml file and then run your project in that environment with the click of a button. This can be done locally on your machine, but it can also be done in the cloud using Github Codespaces.
Codespaces
Github Codespaces are containers running in the cloud that you connect to via VS Code. They are often talked about in conjunction with Dev Containers because you use Dev Containers to configure a Codespace. In other words, all Codespaces are Dev Containers running in the cloud.
Working Together
Because VS Code can run in the browser, Dev Containers, along with Github Codespaces, also allow you to develop from almost anywhere. They’re great for standardizing development across a team. They can also make working on several repos at once much easier because each repo can have its own specific environment for development.
For this tutorial I thought I’d work with a sample Django project I set up for a previous article. It has a few dependencies and also relies on a Postgres database. Feel free to follow along with that repo, but just know that very little of what we cover will be unique to Python or Django, so you should be able to follow along with your own project as well.
It Starts With a File
All Dev Container set ups start with a .devcontainer/devcontainer.json. In here you can set environment variables unique to the dev environment, install additional resources, include any VS Code plugins that might be necessary or helpful, run commands after the container is done spinning up and much more.
Since a Dev Container is just a Docker container, you can define it the same way you define any container, in a Dockerfile or using a docker-compose.yml or a combination of both. You can also pull an existing image. Most set ups will use some combination of devcontainer.json and a Dockerfile
Getting Set Up
VS Code provides a lot of template projects to help you get started with Dev Containers, and though you can just as easily create these files yourself, I recommend starting with a template and then adding and deleting to customize your set up from there. To view the optional template press cmd + shift + P and then start typing Remote-Containers: Add Development Container Configuration Files.

After you click here you’ll have a few options depending on your repo. VS Code will suggest pre-defined templates based on what kinds of files it finds in your project. For example the first suggesting for me was Python3 with Postgresql, which is exactly what I needed. After this you are given the option to add additional features like Homebrew, Docker, AWS Cli and many more. These options just get added to your devcontainer.json, so if you don’t know what you’ll need don’t worry, it’s easy to add things later. I didn’t need anything else so I left these out and clicked OK.
This created three new files for me.
.devcontainers/devcontainer.json.devcontainers/Dockerfile.devcontainers/docker-compose.yml
Let’s take a quick look at each one.
devcontainer.json
{
 "name": "Python 3 & PostgreSQL",
 "dockerComposeFile": "docker-compose.yml",
 "service": "app",
 "workspaceFolder": "/workspace",

 // Configure tool-specific properties.
 "customizations": {
  // Configure properties specific to VS Code.
  "vscode": {
   // Set *default* container specific settings.json values on container create.
   "settings": {
    "python.defaultInterpreterPath": "/usr/local/bin/python",
    "python.linting.enabled": true,
    "python.linting.pylintEnabled": true,
    "python.formatting.autopep8Path": "/usr/local/py-utils/bin/autopep8",
    "python.formatting.blackPath": "/usr/local/py-utils/bin/black",
    "python.formatting.yapfPath": "/usr/local/py-utils/bin/yapf",
    "python.linting.banditPath": "/usr/local/py-utils/bin/bandit",
    "python.linting.flake8Path": "/usr/local/py-utils/bin/flake8",
    "python.linting.mypyPath": "/usr/local/py-utils/bin/mypy",
    "python.linting.pycodestylePath": "/usr/local/py-utils/bin/pycodestyle",
    "python.linting.pydocstylePath": "/usr/local/py-utils/bin/pydocstyle",
    "python.linting.pylintPath": "/usr/local/py-utils/bin/pylint",
    "python.testing.pytestPath": "/usr/local/py-utils/bin/pytest"
   },

   // Add the IDs of extensions you want installed when the container is created.
   "extensions": [
    "ms-python.python",
    "ms-python.vscode-pylance"
   ]
  }
 },

 // Use 'forwardPorts' to make a list of ports inside the container available locally.
 // This can be used to network with other containers or the host.
 "forwardPorts": [8080],

 // Use 'postCreateCommand' to run commands after the container is created.
 // "postCreateCommand": "pip install --user -r requirements.txt",

 // Comment out to connect as root instead. More info: https://aka.ms/vscode-remote/containers/non-root.
 "remoteUser": "vscode"
}
This file is the base file for our Dev Container. This file gets read first, before the container is spun up. For now most of what is defined in here is specific to how we want VS Code to be set up, including adding some settings specific to Python, and including two extensions. The only thing we want to update in this file is the forwardedPorts section. Django’s webserver runs on port 8000. This will forward port 8000 in the container to localhost:8000 on my machine and allow me to open my Django app in the browser.
Dockerfile
ARG VARIANT=3-bullseye
FROM mcr.microsoft.com/vscode/devcontainers/python:0-${VARIANT}

ENV PYTHONUNBUFFERED 1

COPY requirements.txt /tmp/pip-tmp/
RUN pip3 --disable-pip-version-check --no-cache-dir install -r /tmp/pip-tmp/requirements.txt \
   && rm -rf /tmp/pip-tmp
Note that this container is building from a special Microsoft managed container, but we could just as easily have used a standard Python container.
Also notable in the Dockerfile are the COPY and RUN commands that install the Python packages. In Python, packages are listed in a requirements.txt file and downloaded with a package manager called pip. If you’re familiar with Docker you may be used to copying your project files in after downloading dependancies, but in this case we don’t need to do that because after the container get’s created, VS Code will make a shallow clone of our repo inside the container for us.
dockerCompose.yml
version: '3.8'

services:
  app:
    build:
      context: ..
      dockerfile: .devcontainer/Dockerfile
      args:
        VARIANT: "3"
        NODE_VERSION: "none"

    volumes:
      - ..:/workspace:cached

    command: sleep infinity

    network_mode: service:db

  db:
    image: postgres:latest
    restart: unless-stopped
    volumes:
      - postgres-data:/var/lib/postgresql/data
    hostname: postgres
    environment:
      POSTGRES_DB: my_media
      POSTGRES_USER: example
      POSTGRES_PASSWORD: pass
      POSTGRES_HOST_AUTH_METHOD: trust
    ports:
      - 5432:5432

volumes:
  postgres-data: null
Not all projects will have a docker-compose.yml, but because I wanted to be able to connect to another service, in this case Postgres, we’ll need one for this project. This file was also generated for me. The only thing I added here was the environment section under db with some variables specific to how my app connects to Postgres.
Running Your Dev Container
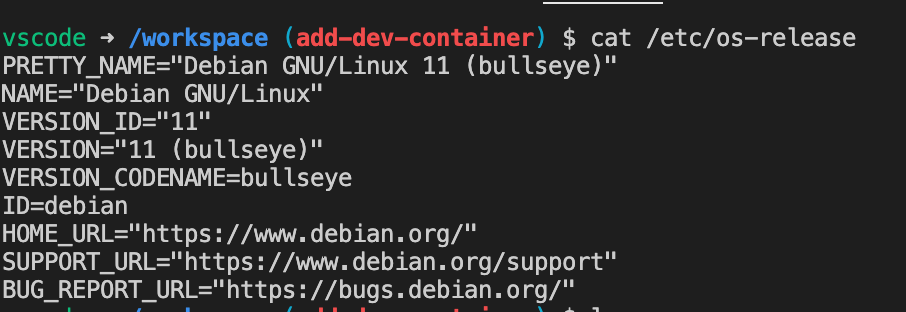
Now you can run cmd + shift + P and type Remote-Containers: Open Folder in Container. Everything will disappear for a minute while the containers are spinning up. Once it’s done you can pull up your terminal and you’re now inside your dev container! All the files in your project should be available in the default directory /workspace.
As long as you forwarded the correct port in your devcontainer.json, you should be able to run your app as you normally would. In my case, I’ll first need to run my database migrations.
python manage.py migrateAnd then I can start my server.
python manage.py runserverNow I can go to http://127.0.0.1:8000/media/ to see my app’s only page.
Codespaces
Dev Containers let you run any project in a Docker container. You can do this locally, as we’ve seen, or you can do it remotely in the cloud using Github’s Codespaces. Codespaces is a cloud computing service that lets you run a Dev Container on remote hardware and access it from almost anywhere.
Enabling Codespaces
Because Codespaces is a billed service (there is currently no free option), you’ll need to have an organization set up with a credit card to use them.
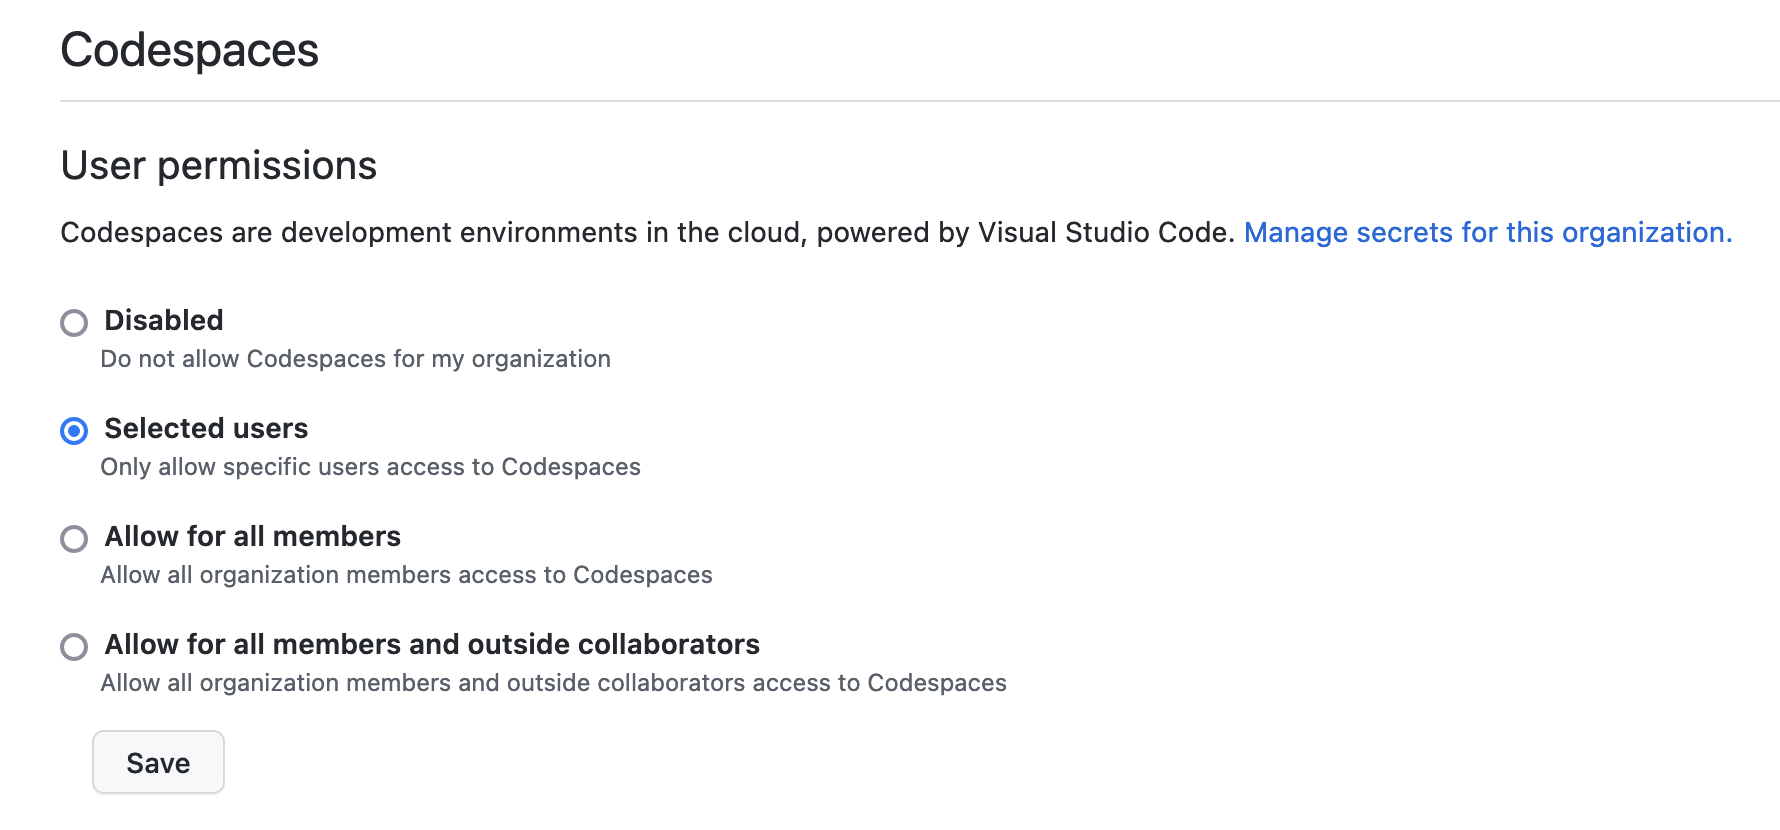
To enable Codespaces for your organization, go to your org’s settings page. On the left, scroll down to Codespaces and click general. Here you can choose to activate Codespaces with a number of options for who can use them. You can turn them on for everyone in your org, select certain members or allow anyone in your org and anyone you invite to a repo as a collaborator to use them. Just make sure whoever has access is trusted as costs for compute time can add up quickly.
What About Forks?
Codespaces are tied to organizations. If someone outside your organization forks your repo, they won’t have the ability to use any Codespaces tied to your account. They can, however, use your Dev Container set up to run a Codespace in their own organization billed to their own credit card.
Setting Up Codespaces
Once Codespaces is enabled for your organization, you’ll be able to click the green Code button at the top right of any repo. You should see a tab on the right for Codespaces.
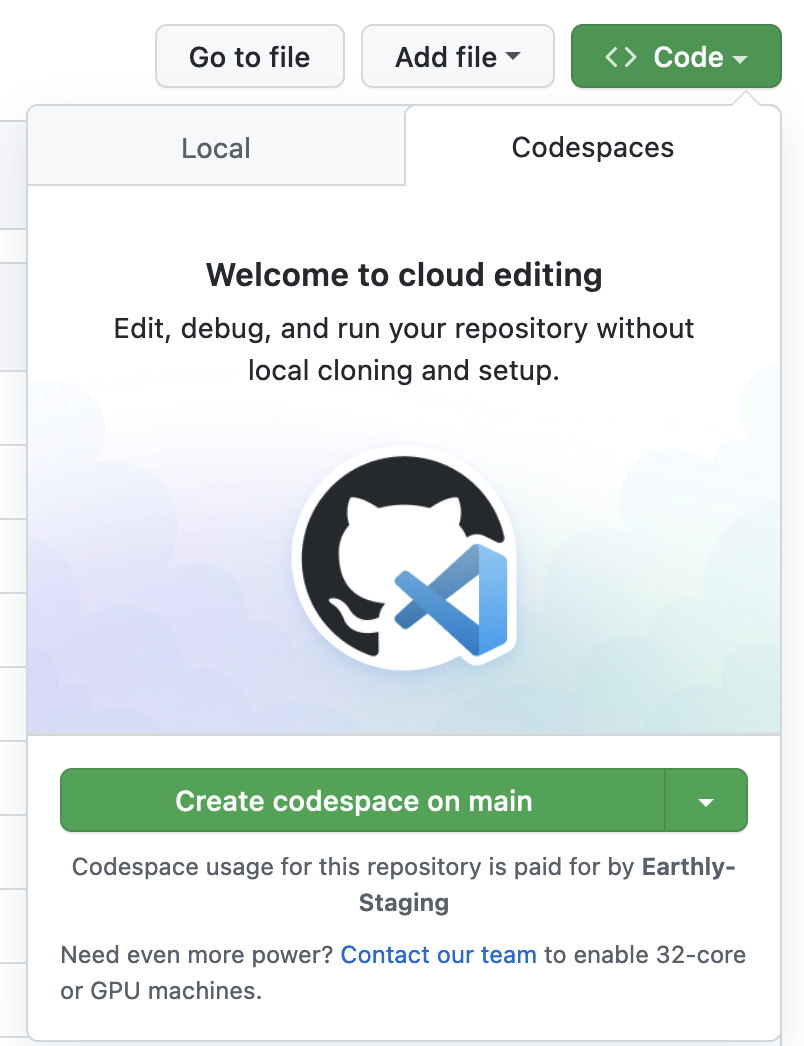
You can click the button to create a Codespace right away with the default settings, or you can click the arrow next to the button and select “Configure and Create Codespace”.
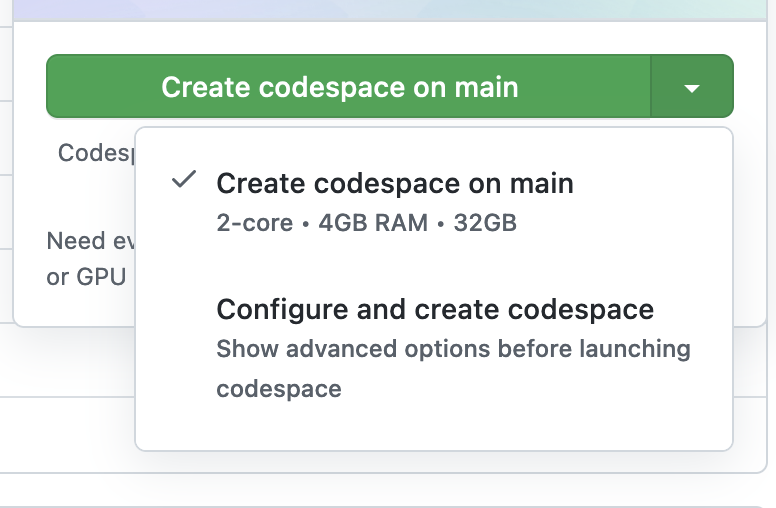
This will take you to a new page where you can select a different branch and a machine type. Once you have everything configured the way you want it click “create Codespace”. You’ll be taken to a screen similar to the one below.
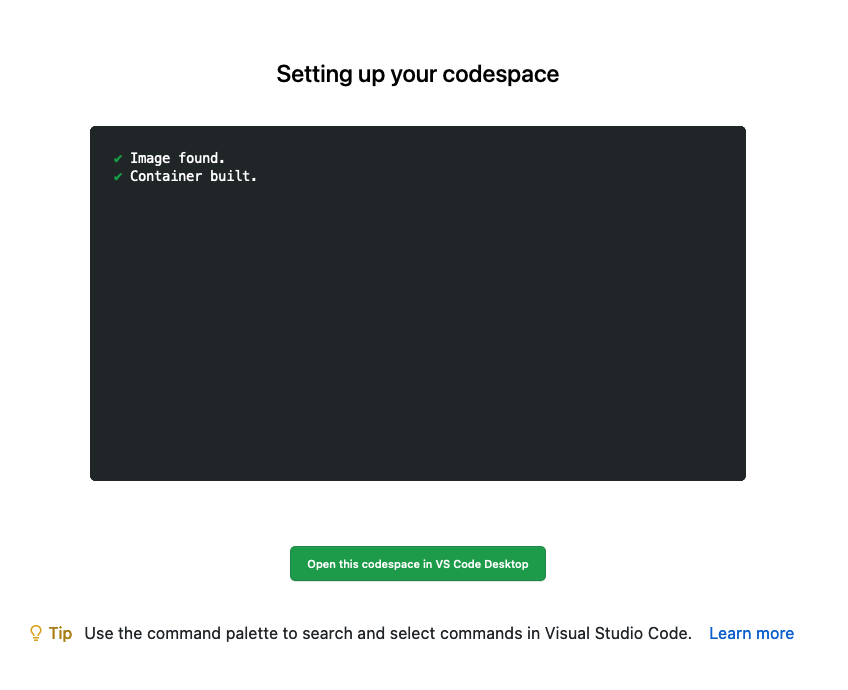
You can wait for Codespaces to open up VS Code right in your browser, or you can click the button to have it open in your local version of VS Code. I found working in the browser to be a pretty good experience. The biggest problem was that I didn’t have access to all of my shortcuts I’m so used to. I assume the browser was overriding them. For that one reason I usually choose to open a Codespace locally. If you do choose to use VS Code in the browser, be sure you switch to dark mode right away or someone from StackOverflow will be dispatched to your home to break your legs.
If you already have a Dev Container set up like we did in the last section, then that will be used to create your Codespace environment in the cloud.
But don’t worry if you haven’t taken any steps to configure a Dev Container yet. Github will spin up their default container for you. This default container does its best to be a catch all, so it has many different languages and packages built into it. For some quick edits or certain projects, it may be all you need. But to get the most out of Codespaces, you’ll want to take the time to set up a Dev Container specific to your project.
Stopping Your Codespace
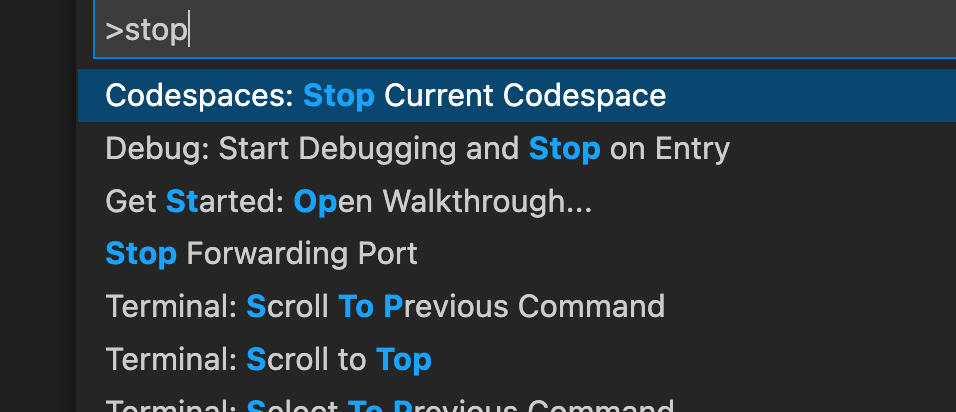
Codespaces cost money. When you’re finished using them, remember to shut them off. Simply closing VS Code will not do the trick. Remember this is a container running in the cloud. You can stop the code space by clicking the word Codespaces in the bottom left corner of your VS Code window or by pressing cmd + shift + P and typing stop until you see “Codespaces: Stop Current Codespace”, which you can click to turn it off.

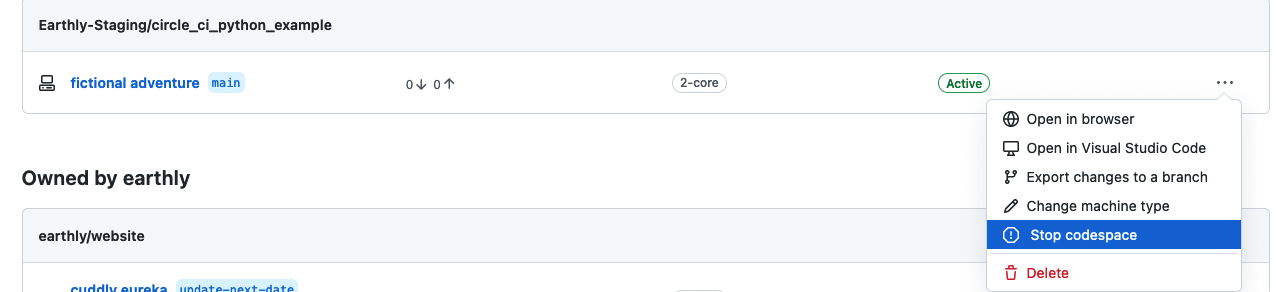
If you’re ever unsure if you have any Codespaces running, you can see all your Codespaces by clicking on your profile pic in the upper right of the Github menu bar and navigating to Your Codespaces.
Code Anywhere
We just started using Dev Containers and Codespaces at Earthly. They’ve allowed us to collaborate more easily with freelancers. One thing you lose with this set up is a lot of the customizations a developer might have on their own machine. Could be something as simple as losing your preferred command prompt, or no longer having access to aliases and custom scripts. There are ways around this, but best leave that for another article.
Turn your engineering standards into automated guardrails that provide feedback directly in pull requests, with 100+ guardrails included out of the box and support for the tools and CI/CD systems you already have.